Fujifilm XF 18-135 3.5 ~ 5.6 OIS WR Lens Under a Tuscan Sun Review

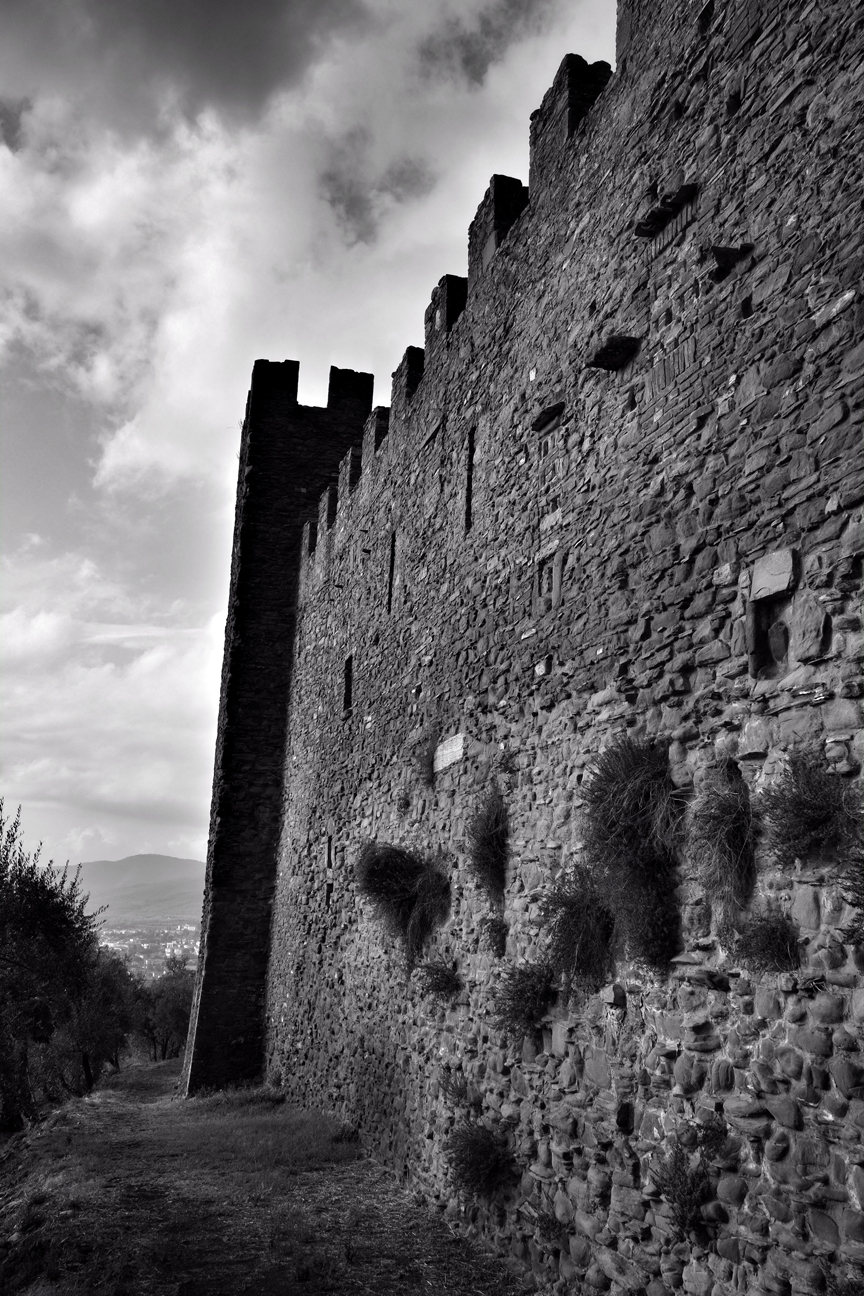
Zoomed all the way in, Castle Fiorintino. The sun was setting and it really worked. I had to pull over for this one.
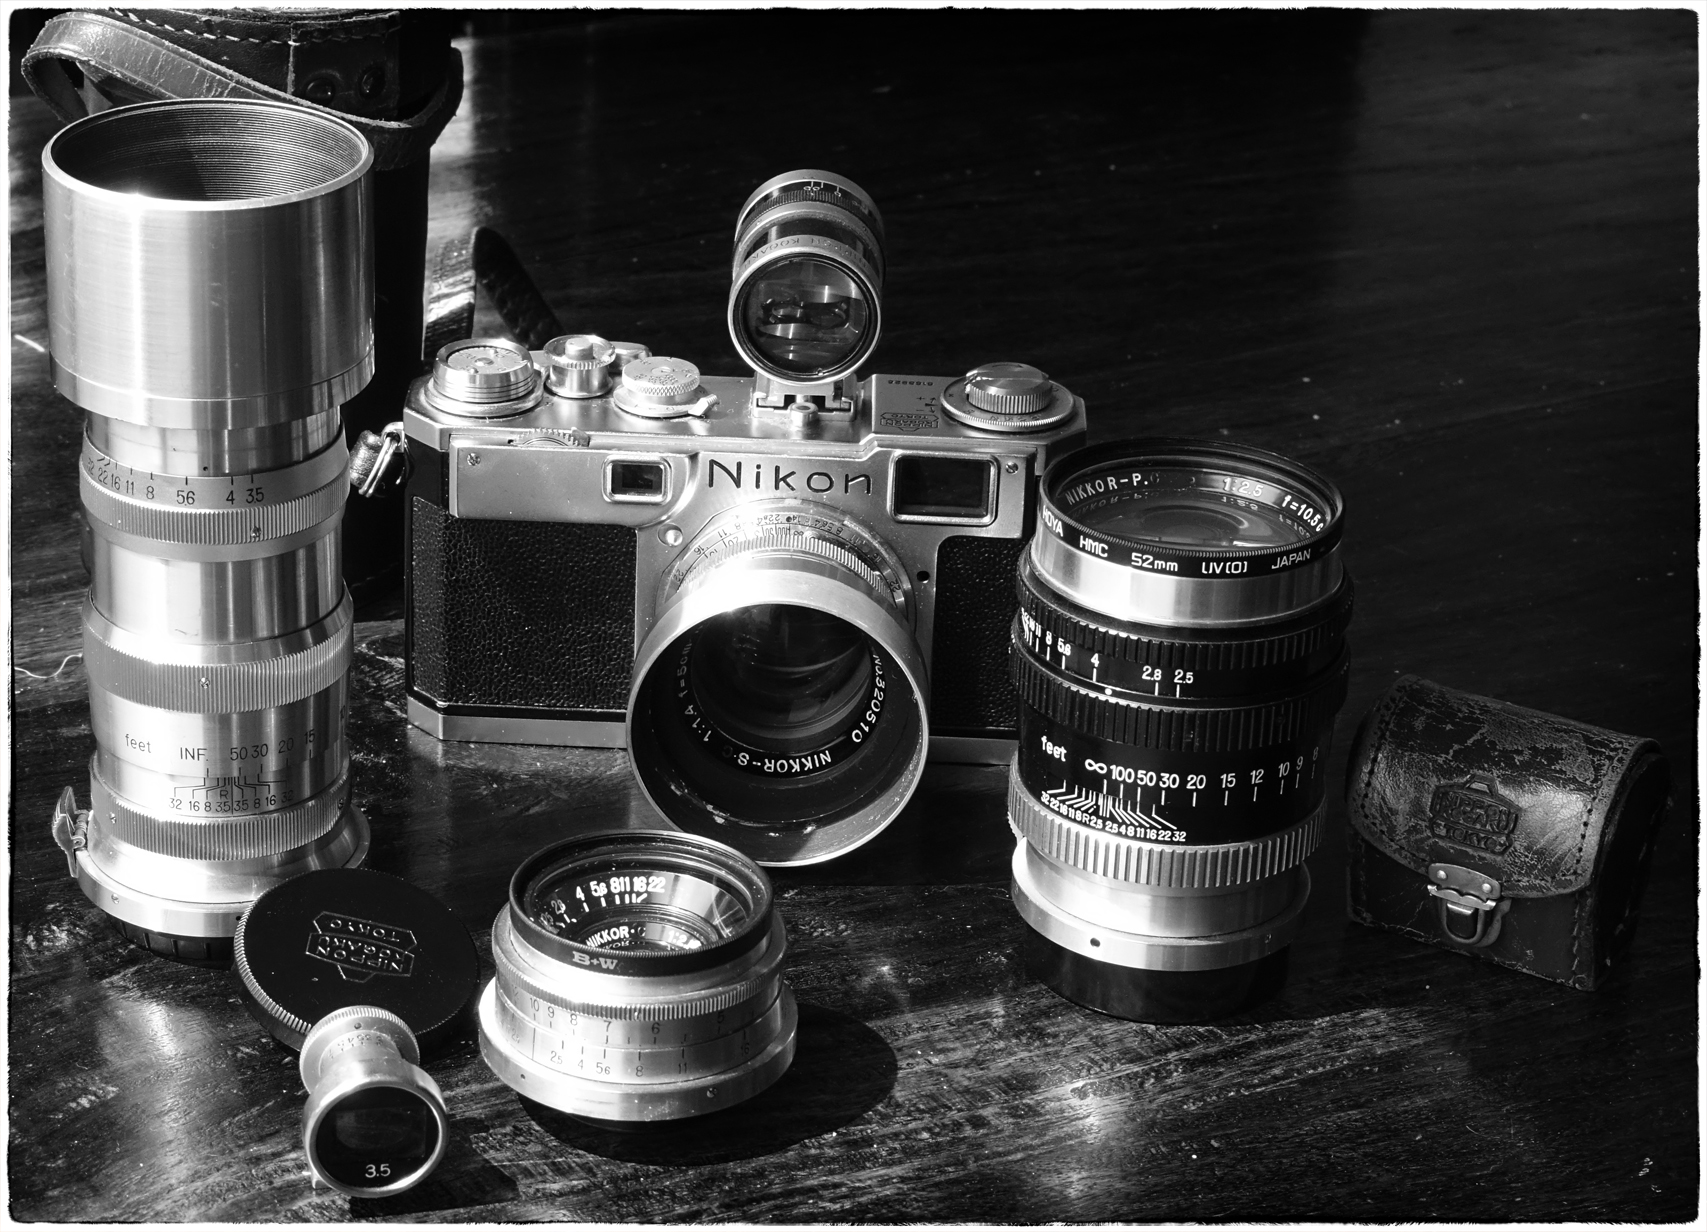
The Tuscan summer vacation always leads me to a mini photo project using specific gear. In the past years the cameras have been diverse such as the Instant Italy summer, using only Fujifilm Instax cameras. Other times I had the pleasure of weeks resorting only to Deardorrfs and Hassalblads, Nikon rangefinder and toy cameras and of course the summer of water color not using a camera at all. This year since a Tuscan darkroom is available after setting one up last year, I knew I’d grab a film camera and using periscope (the social media livecast software), it was decided that the Zeiss Icon 535 medium format would be employed. But I did want a digital, and after the past year of using the cream of Sony’s crop of cameras I was distraught on what to use.

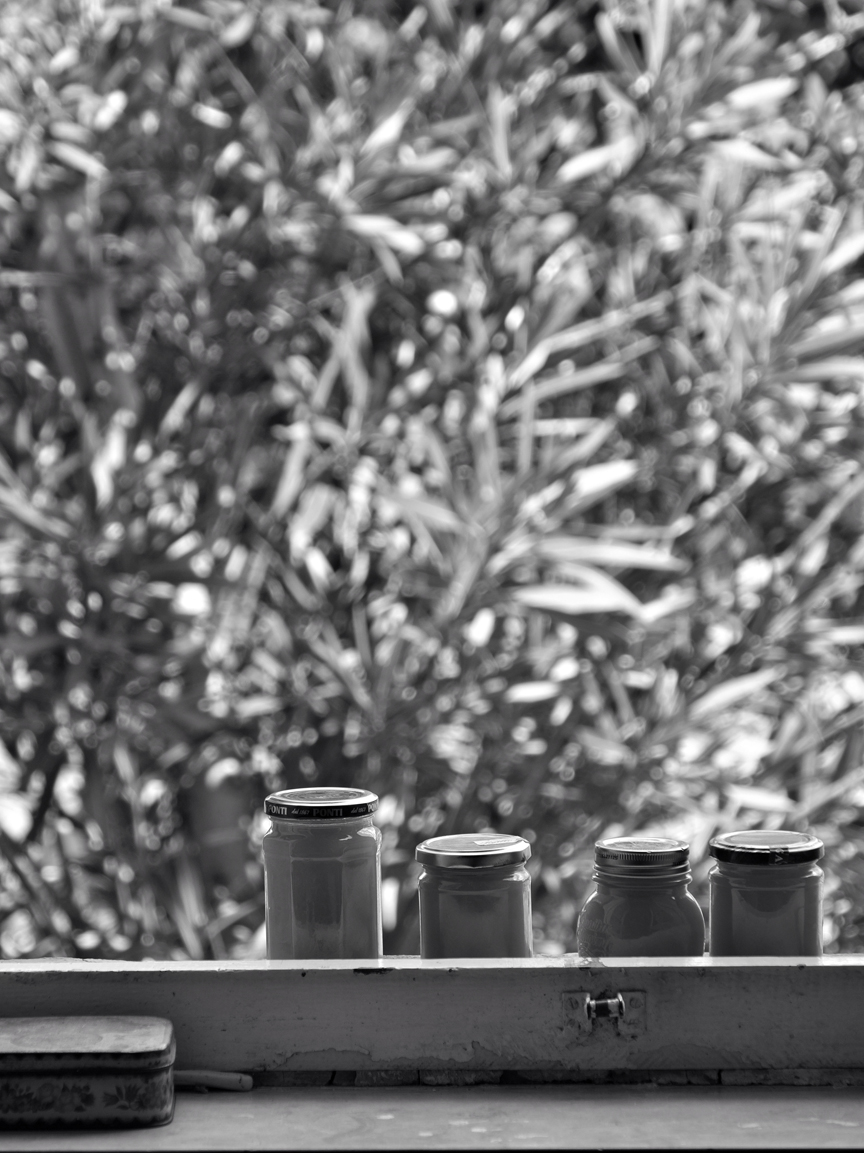
The light in the kitchen is always perfect. Processed in Snapseed.
On my shelf, gathering dust was my trusty Fujifilm XPro1. I was down to only two lenses, the 18 and the 35. Why was a layer of dust on it? Well for one, this past year as I said I had been using what I would call, Ultra Modern Digitals, in particular the Sony RX series and a few short weeks ago, the brandy new Sony A7rII. Scroll back on this blog to see the many posts about these cameras.

18mm range and nice and wide. Processed in Snapseed.
Handling the XPro1 was a joy as it always has been. With its viewfinder allowing the option of analog or digital, the classic rangefinder look, the fit and finish and of course, the solid click of the shutter I resolved that I would bring that. But I must say, I know those two lenses inside and out, just like I know Cortona and the local country side, and I needed a new lens to inspire the exploration with the Xpro1.

Cortona and heavily processed in Snapseed.
So I reached out to my Fujifilm connection and long time friend and photo confidant, Brandon. He replied to my text contritely saying, “or be so not Dave and do a crazy zoom 18-135”. Sometime over a year ago, Fujifilm unveiled a “super zoom” that was weather proof and a slight departure from the old school primes that preceded it. For one, it is an image stabilized lens, and secondly the aperture ring while being where you would expect it, near the lens mount, is electronic. It’s not a small lens, and on the camera takes the compact Mirrorless and makes it DSLR size. The aperture is a variable f3.5 at 18mm and at 135mm is a slow f5.6. I figured the best way to deal with the slower zoom was to keep the stabilizer on and reset my auto iso settings. Jumping into the menu I selected 200 to 6400 auto with a min shutter speed of a 1/5th of a second (taking into account the stablizer).

Amazing I was able to catch focus, that’s what 3 years with this camera does to you. Wide open and zoomed in, processed in Snapseed.
Brandon explained the weather proofing as ingenious. The back of the lens has air conduits built into it for intake and exhaust. This keeps dust inside the lens or pushed out of the lens, and not on the sensor. A fear of long zooms is the vacuum they create as they are zoomed. Fujifilm engineers figured a work around this inherent problem and I had no issues what so ever with dust contamination on the sensor.
Around 80 mm and wide open.
I enjoy using the lens. It’s a big beast for sure, but by strapping the camera on backwards to my shoulder, the lens tucks nicely into the nook between my but and flank. How about performance? The images will speak for themselves. I found the images tack sharp from edge to edge. Shooting wide open on the wider focal lengths makes for a lack luster bokeh, but certainly at the tele settings on close up subjects, the bokeh improves. It’s no 35 f1.4 for sure, but the flexibility of the zoom overrules that objection quite nicely. Don’t buy this lens for sweet out of focus blurry for and back grounds, buy it to pull in distant details- of which it will do very nicely.
Winter is Coming.

Those steps are special to me, in 2003 that was Barbara and I walking down them freshly married.
Also Fujifilm is now offering a line of filters. They are made of metal (not brass) and feature glass Fujifilm Super EBC coated optics. They are not thick and burly B&W filters, but inexpensive and well matched to the system. I would match them to any lens purchase I will make in the future. The threads are perfectly suited for the other lenses in the line up.
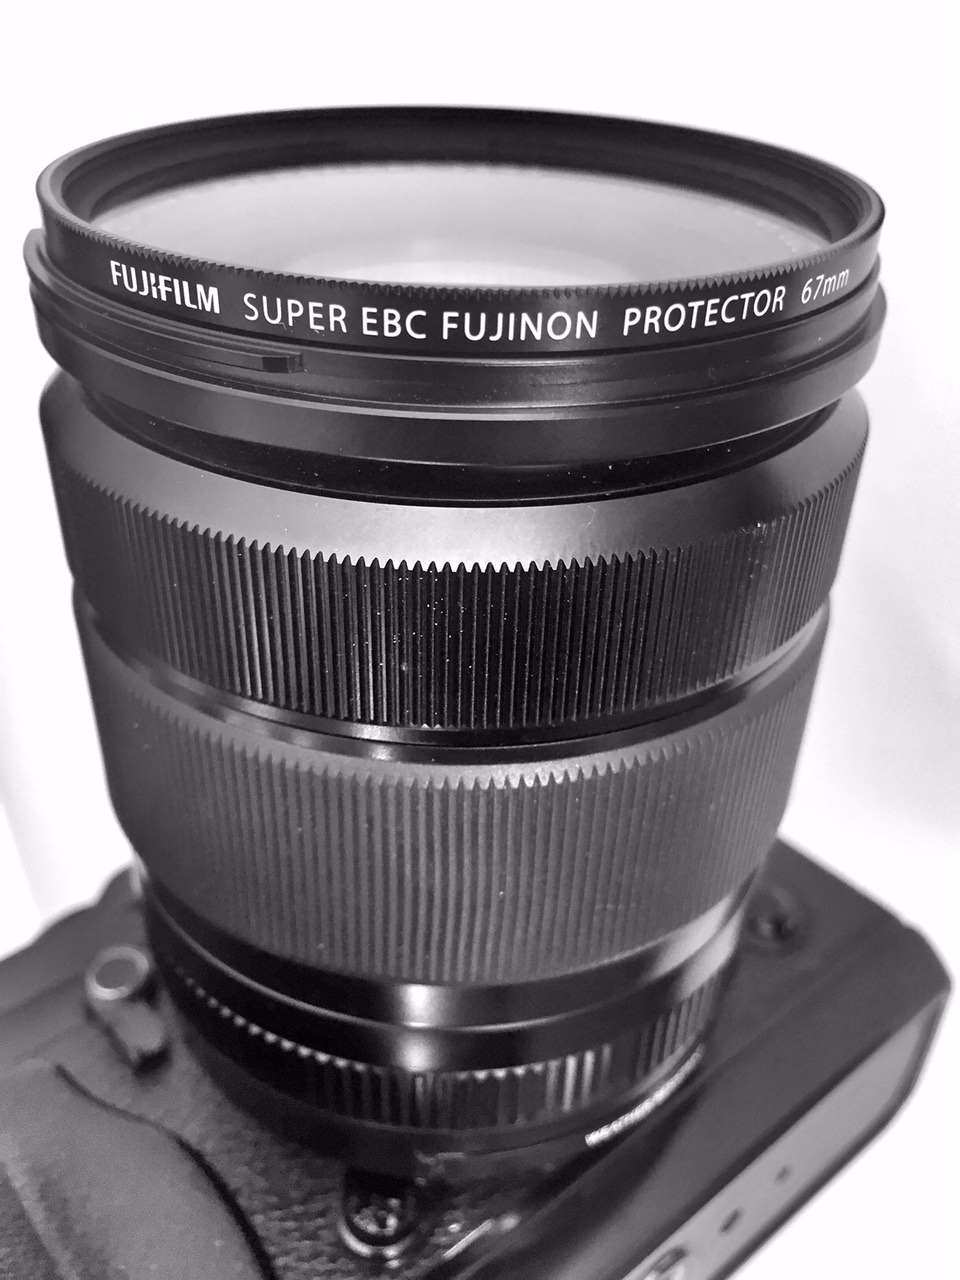
Fujifilm Branded Filters for the perfect fit. Shot with iphone 6
A crazy zoom, OK I like it!
~David
| Features | |
|---|---|
| Image Stabilization | Yes |
| Autofocus | Yes |
| Physical | |
|---|---|
| Filter Thread | Front:67 mm |
| Dimensions (DxL) | Approx. 2.98 x 3.85″ (75.7 x 97.8 mm) |
| Weight | 1.08 lb (490 g) |