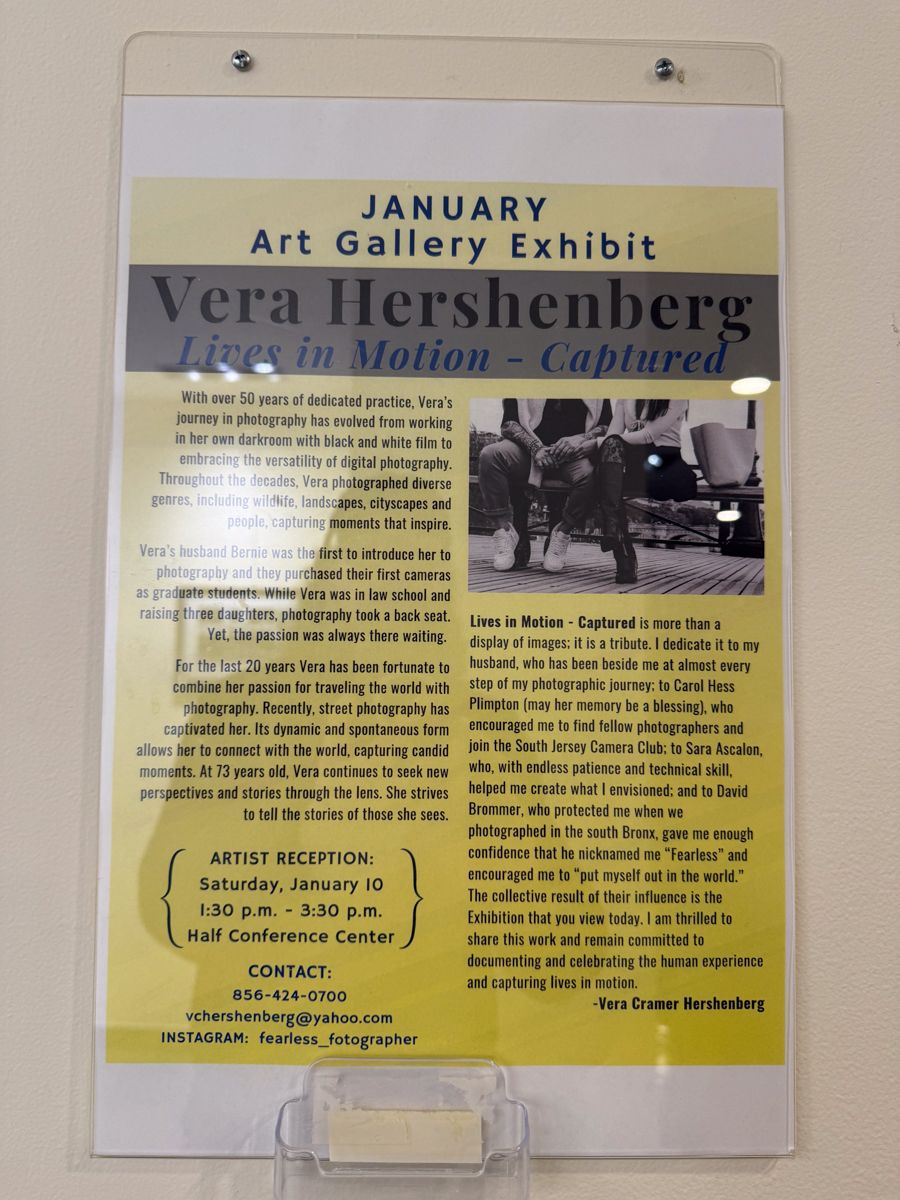
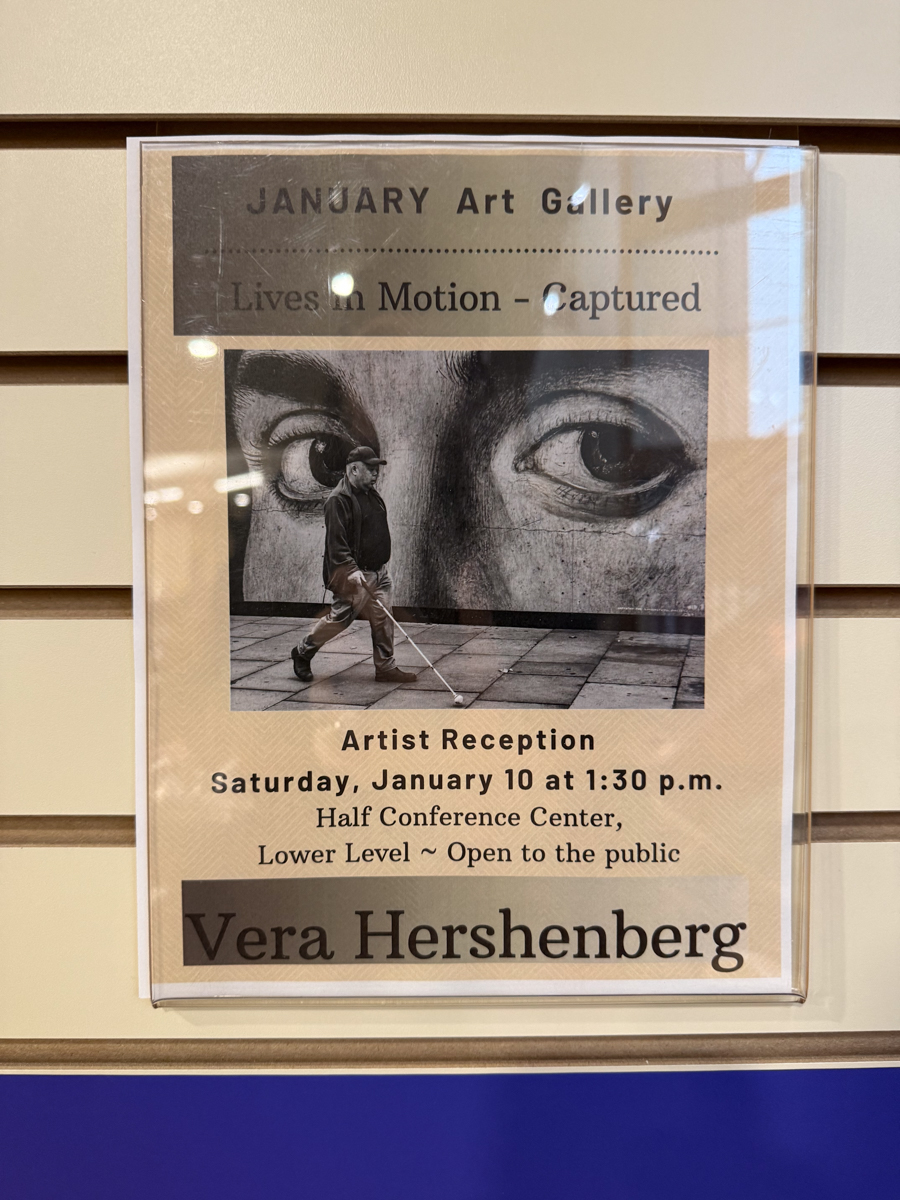
Lives in Motion: Vera Hershenberg’s Photography Exhibition
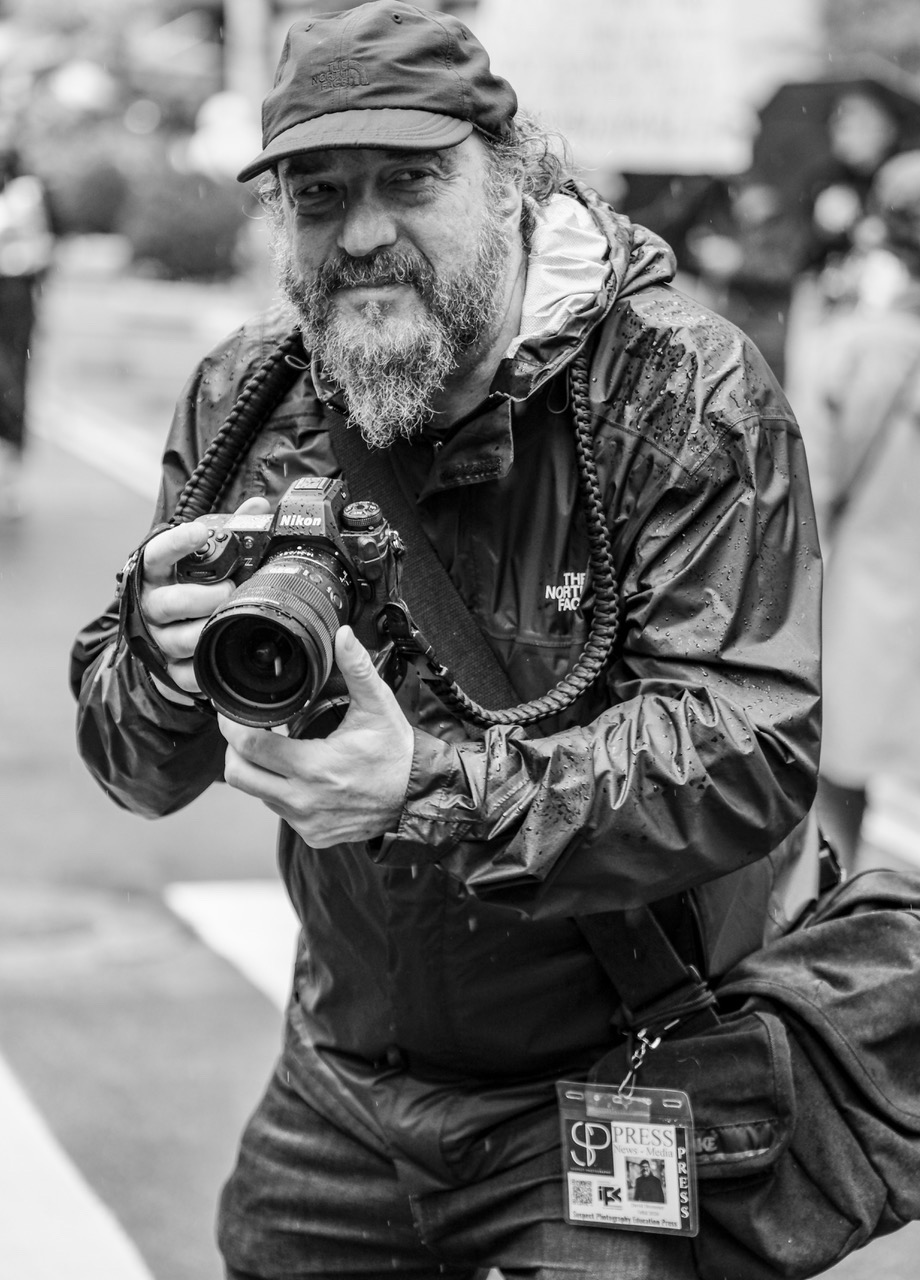
Two years ago I received an email from one Vera Hershenberg asking questions about our NYC Spring Street & UN workshop. It took a little pushing and logistical maneuvers, but she joined us on our inaugural workshop. I spent some time working with Vera, making sure she was in control of the camera and getting what she saw in the files. That was Vera’s strength. She “sees” and she goes for it. Over the workshop she earned the nick name “Fearless” because when she raises her camera chasing what she sees, Vera knows no fear. So it was that we worked in the Bronx, Harlem, East Village and the rougher edged neighborhoods for over a year where Vera shined. Her fearlessness rubbed off on the other work-shopers and made them go a little further too. Vera has chosen street photography late in her life and I am honored to be her camera whisperer. She attended the first Suspect Photography Retreat In the Woods and took advantage of the wise instructors to show them her work and help her organize it for an upcoming exhibition. This past weekend was the opening of her show, Lives In Motion – Captured. The show was so excellent, that I’m going to compare Vivian Maier to Vera Hershenberg, albeit with a conditions. For now, let’s let the work speak for itself.
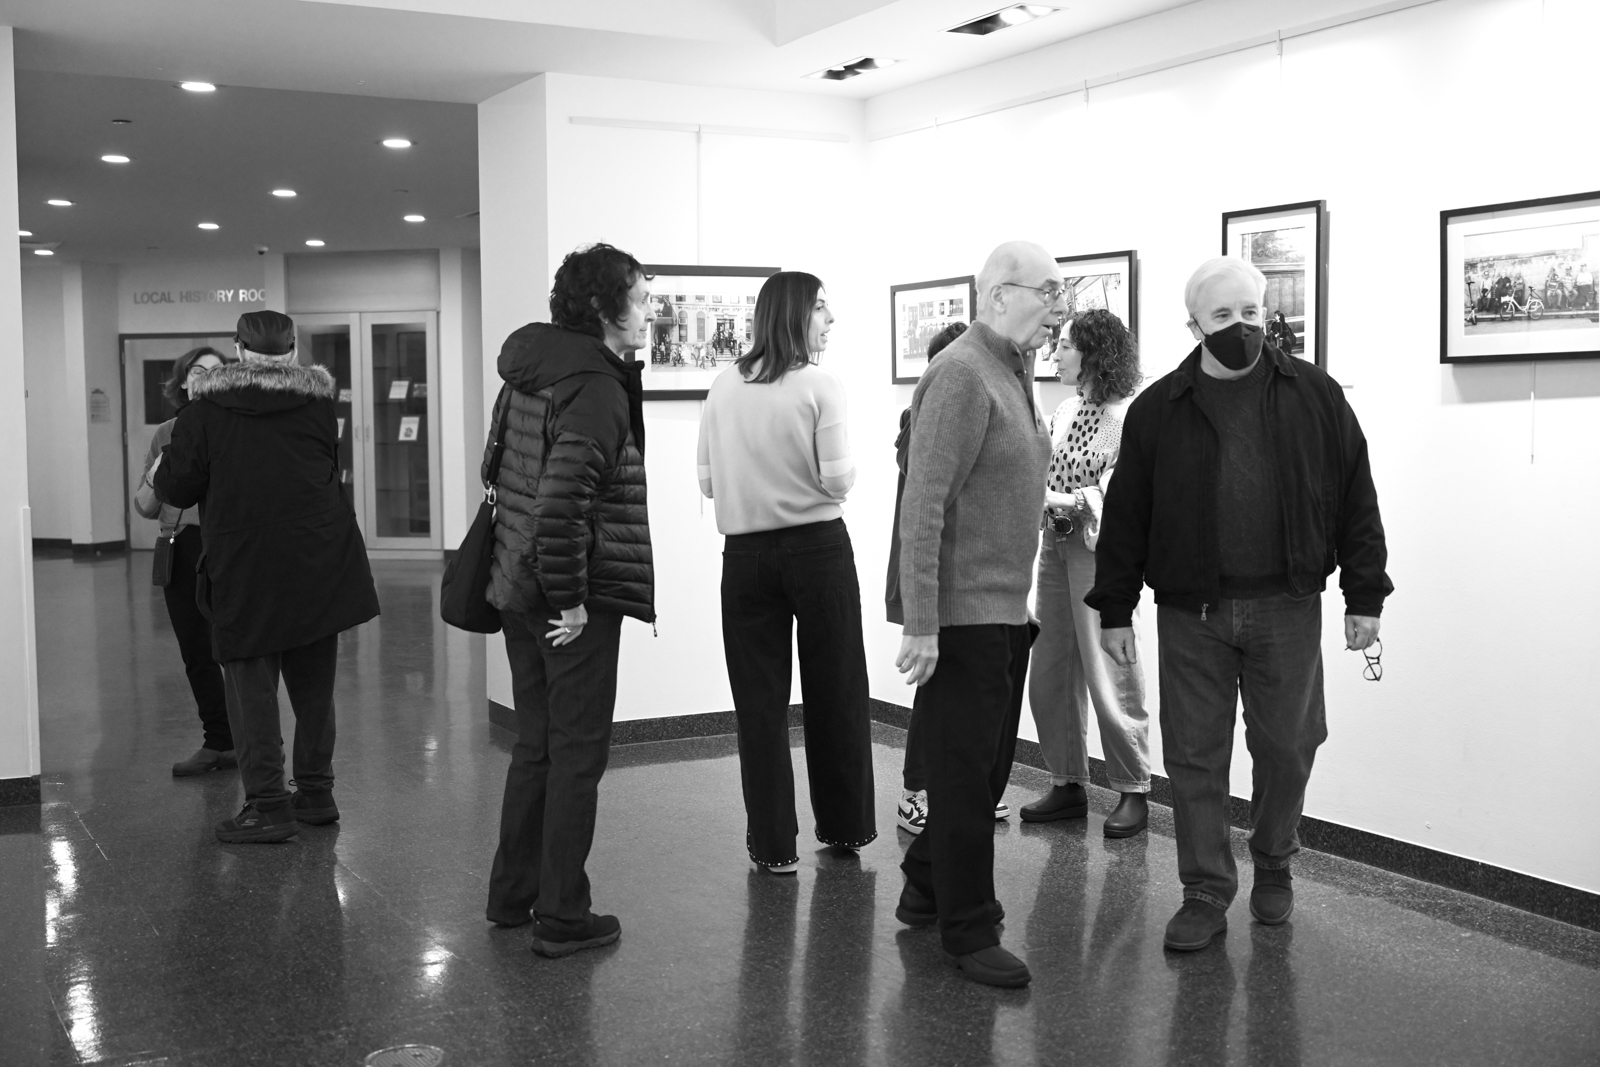
The gallery was located in the Cherry Hill Public Library. Excellent wall space to fill with work. Vera invested in quality framing and had a friend from the local photo group help with the printing (Canon Printers were used).
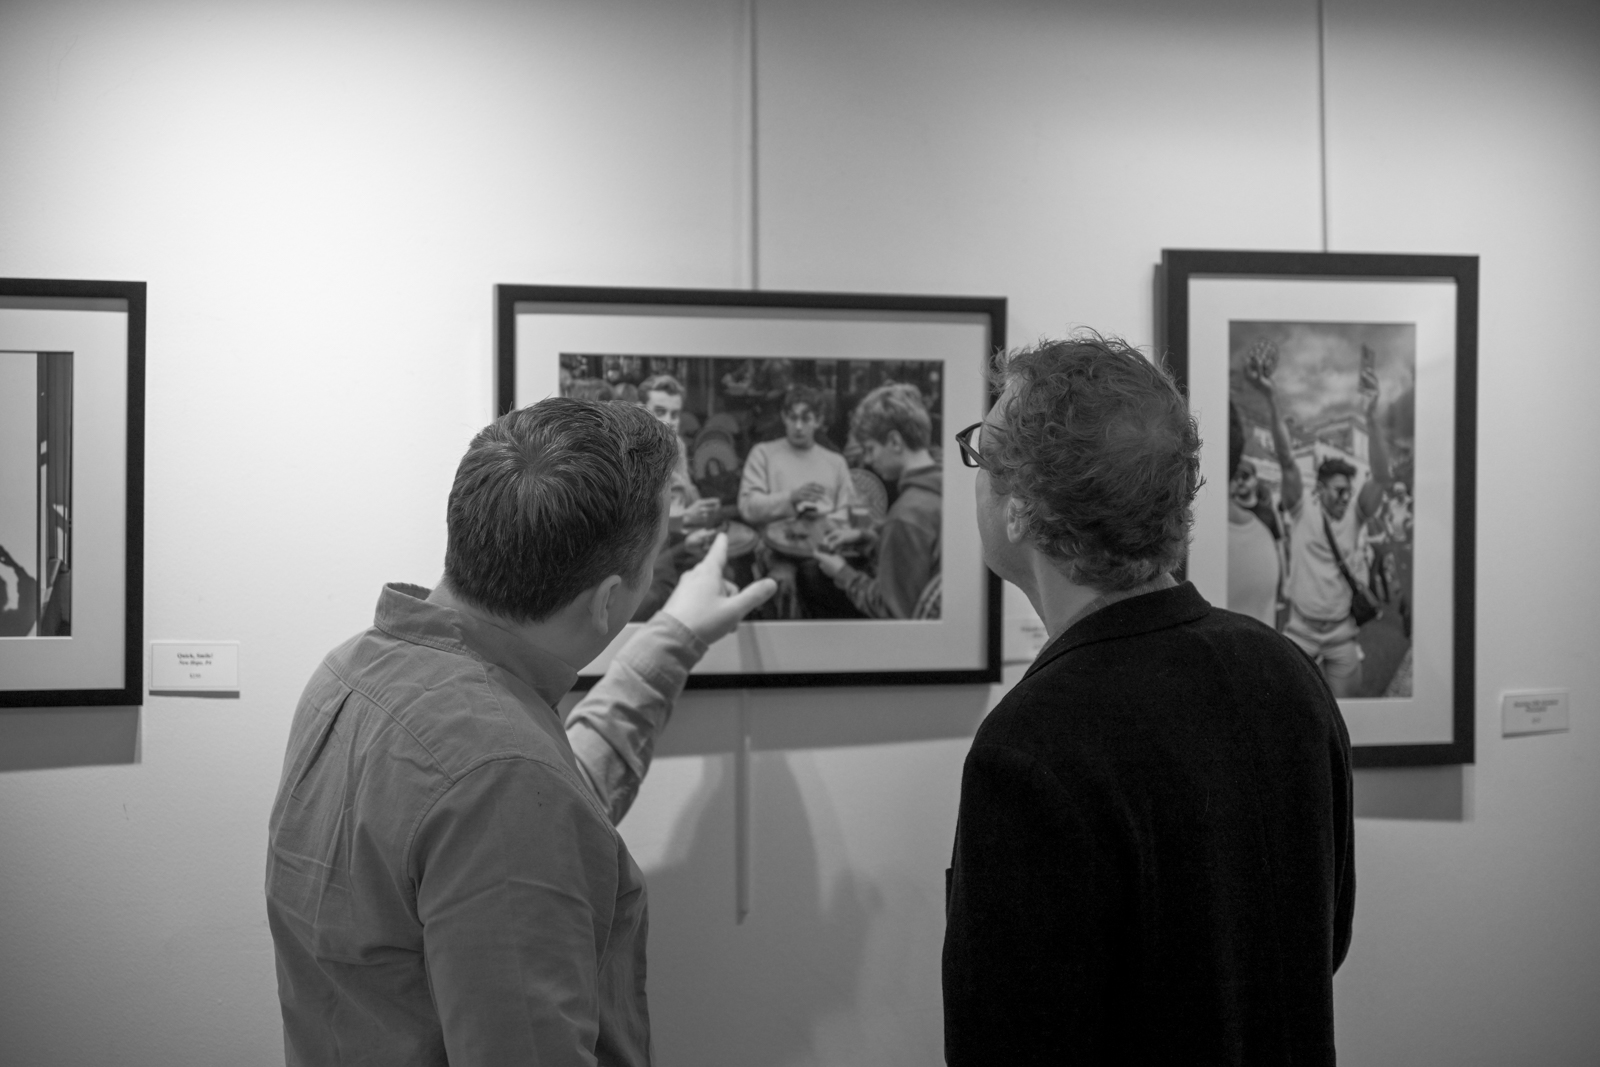
Vera’s work engaged the viewers.
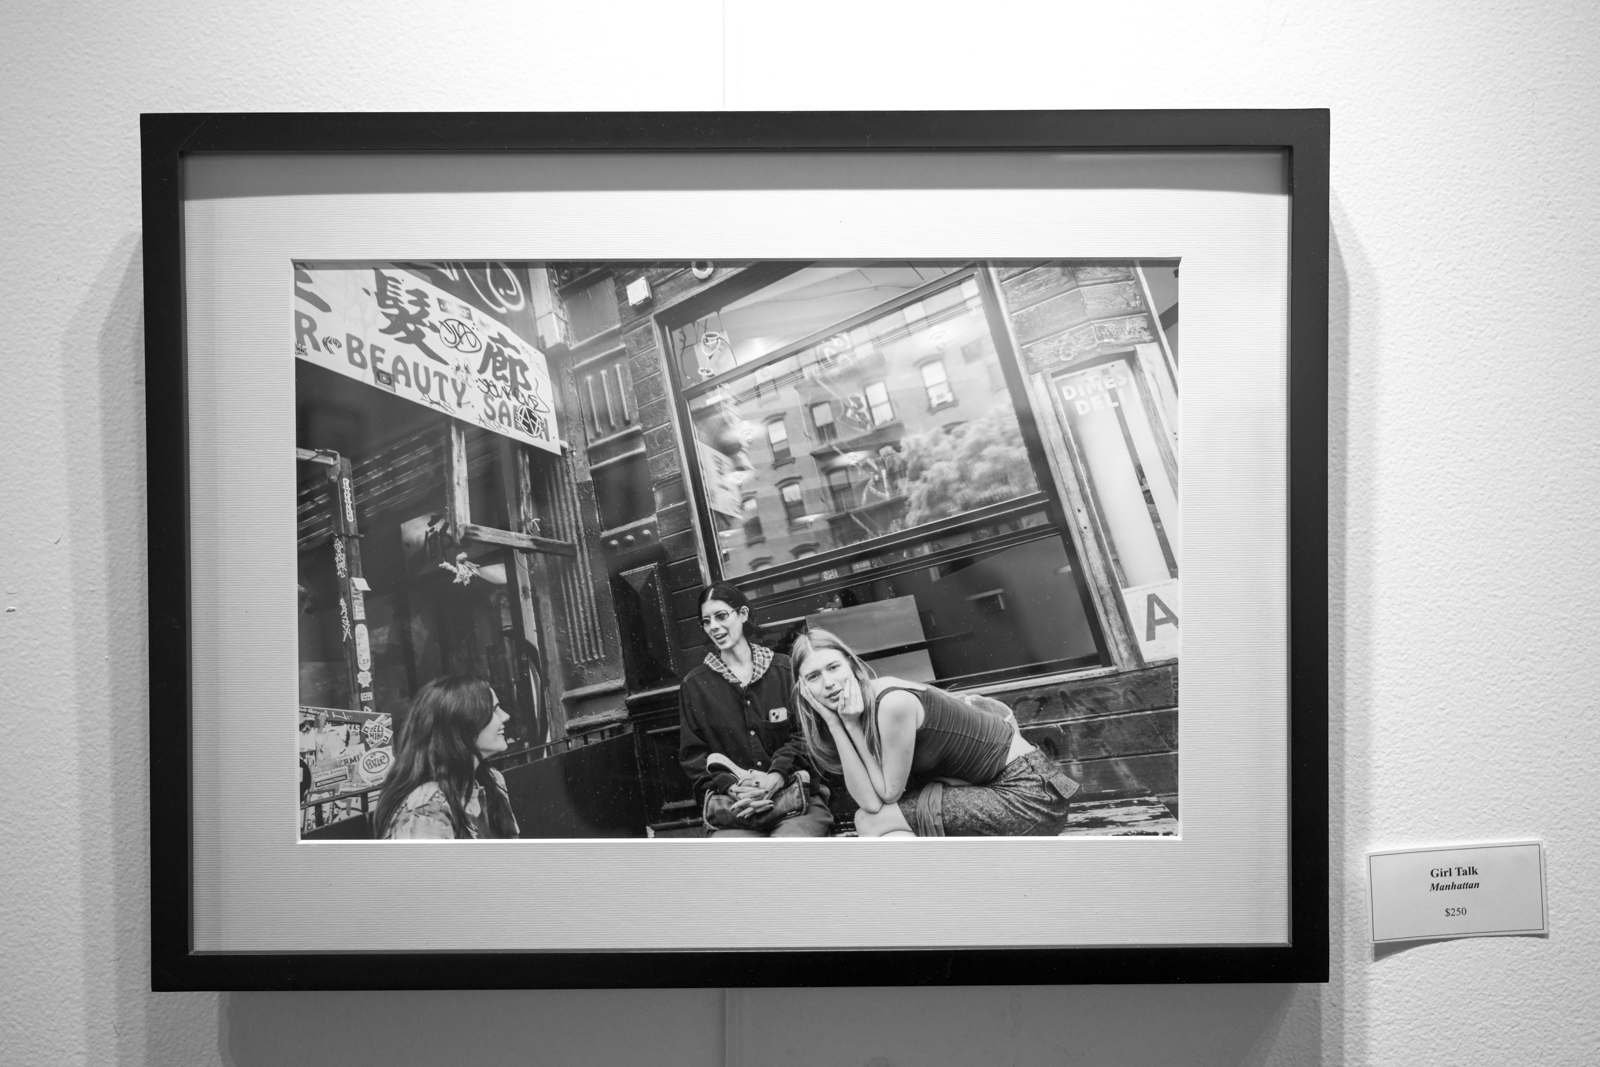
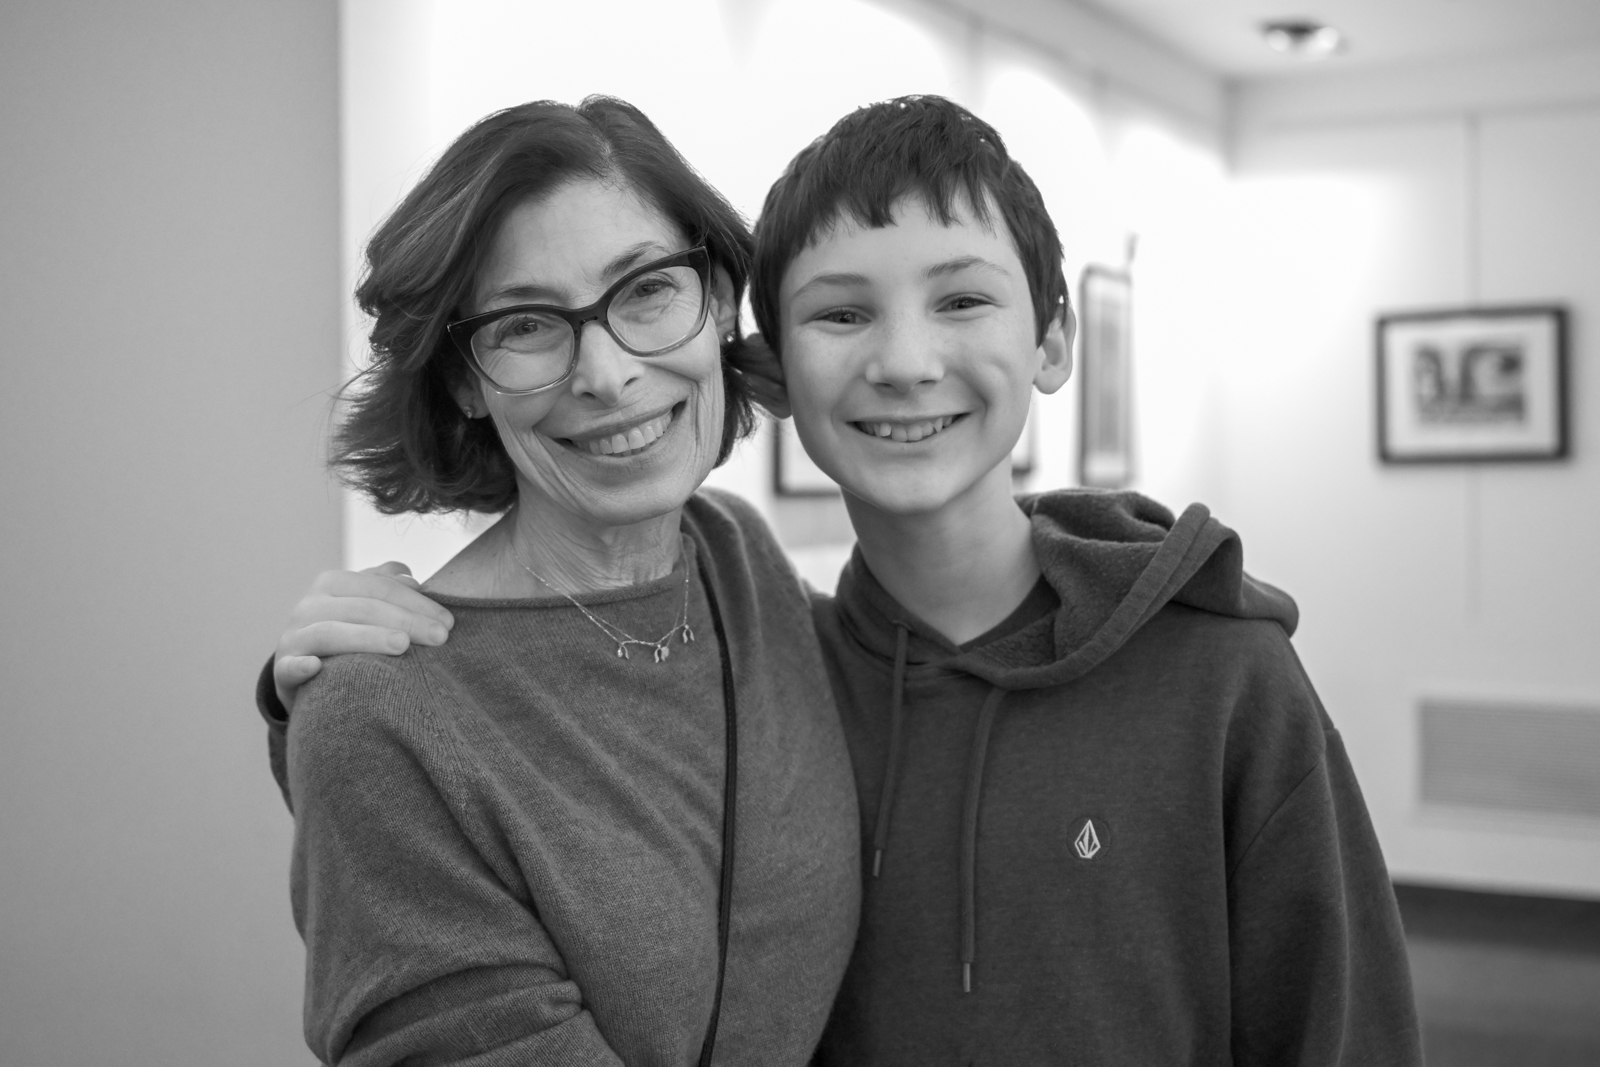
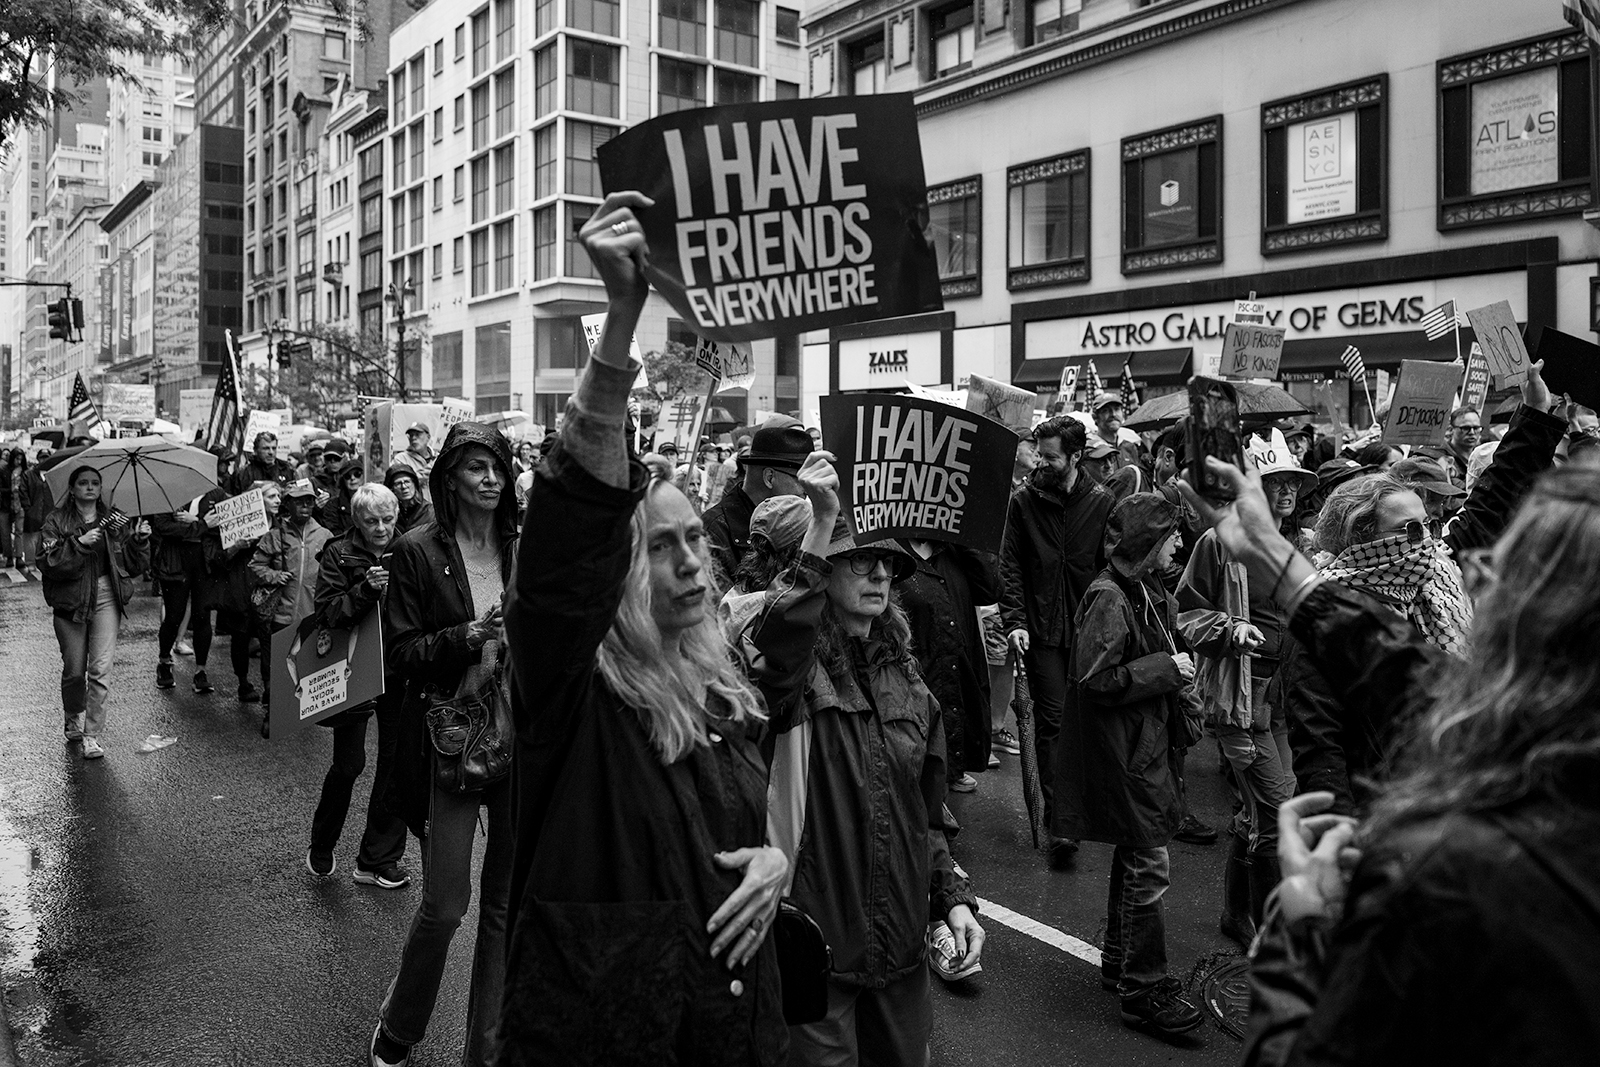
Girl Talk was made on our spring NYC workshop. I recall discussing it with the class during our review sessions. While I liked the image then, to see it printed properly made the image sing. The geometry is stunning, the gesture beacons, and it’s a true Street Photo of the candid nature.
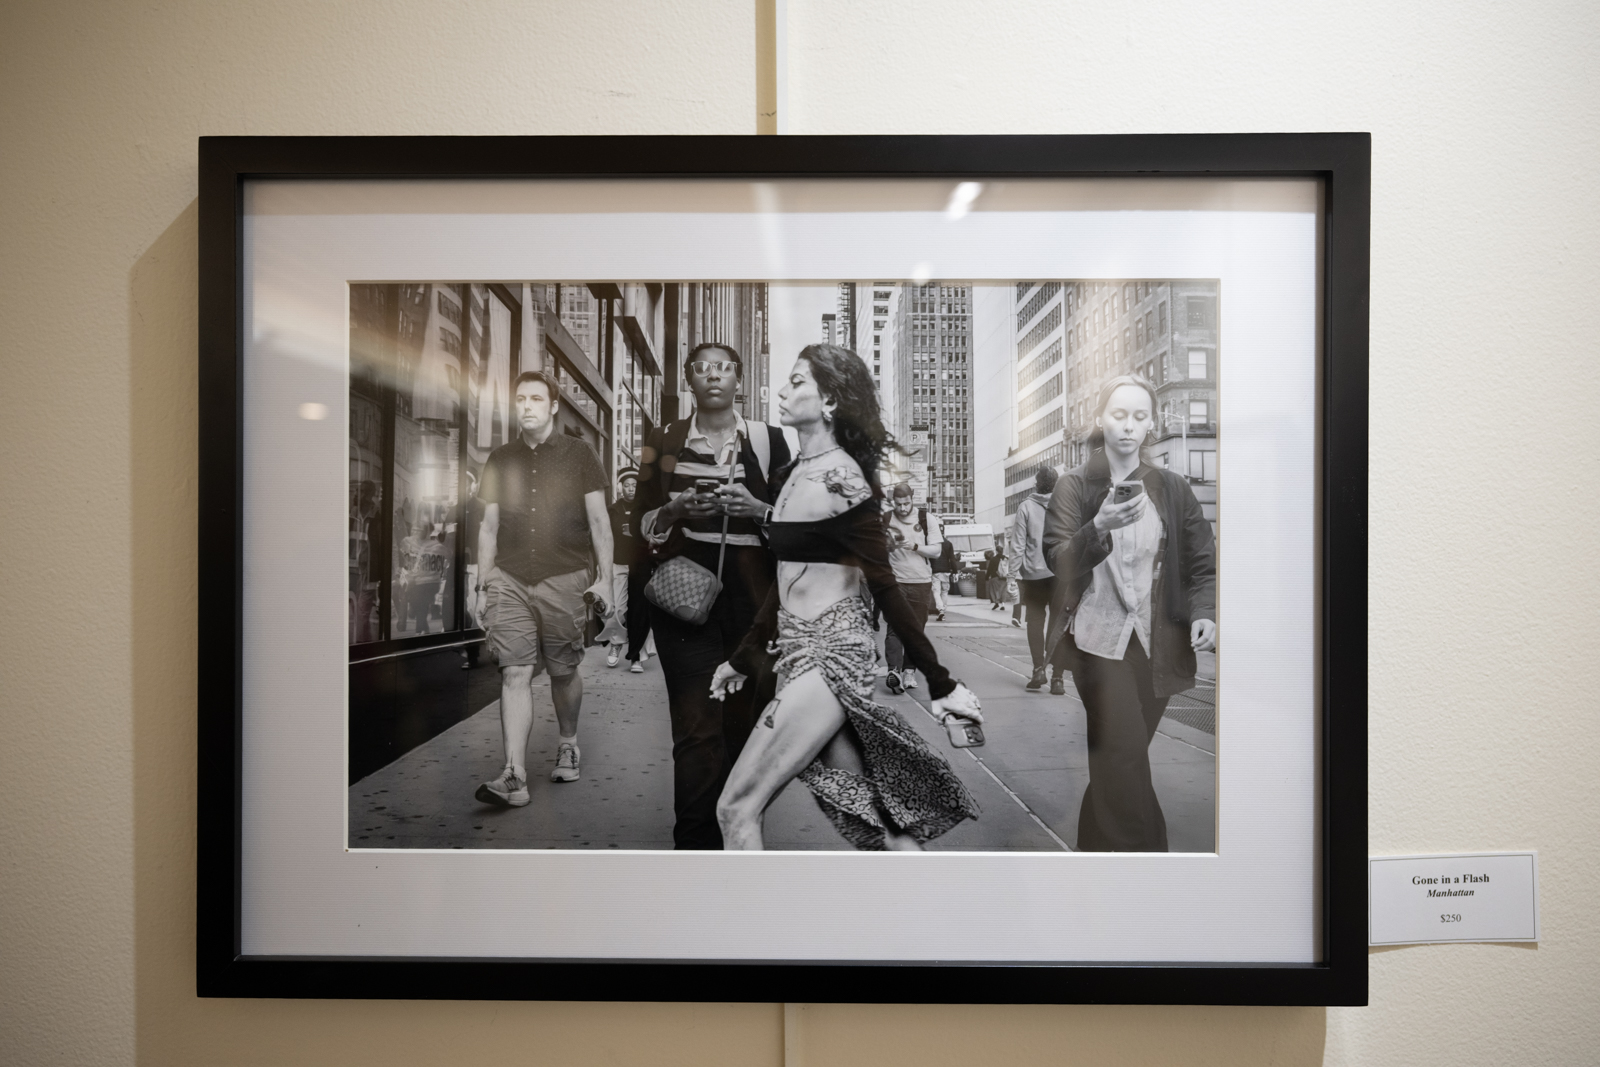
Gone in a Flash is perhaps my favorite image. It begs a long look and tells so much of a street story taking place across an elaborate composition.
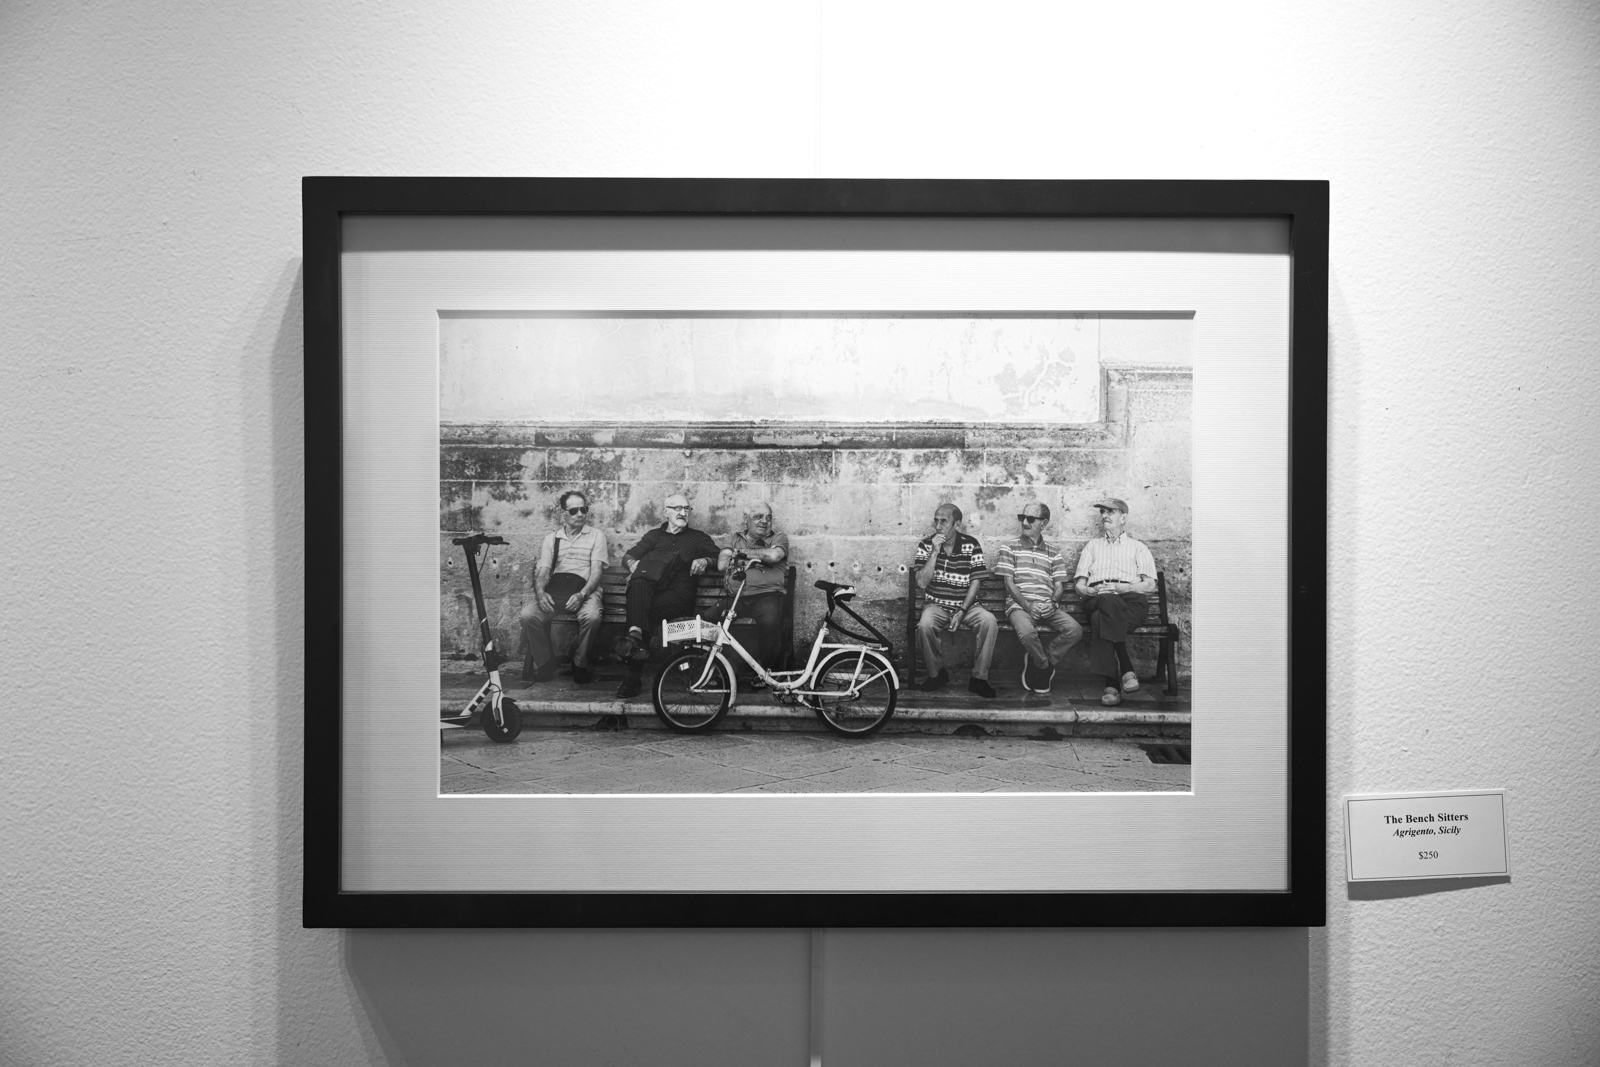
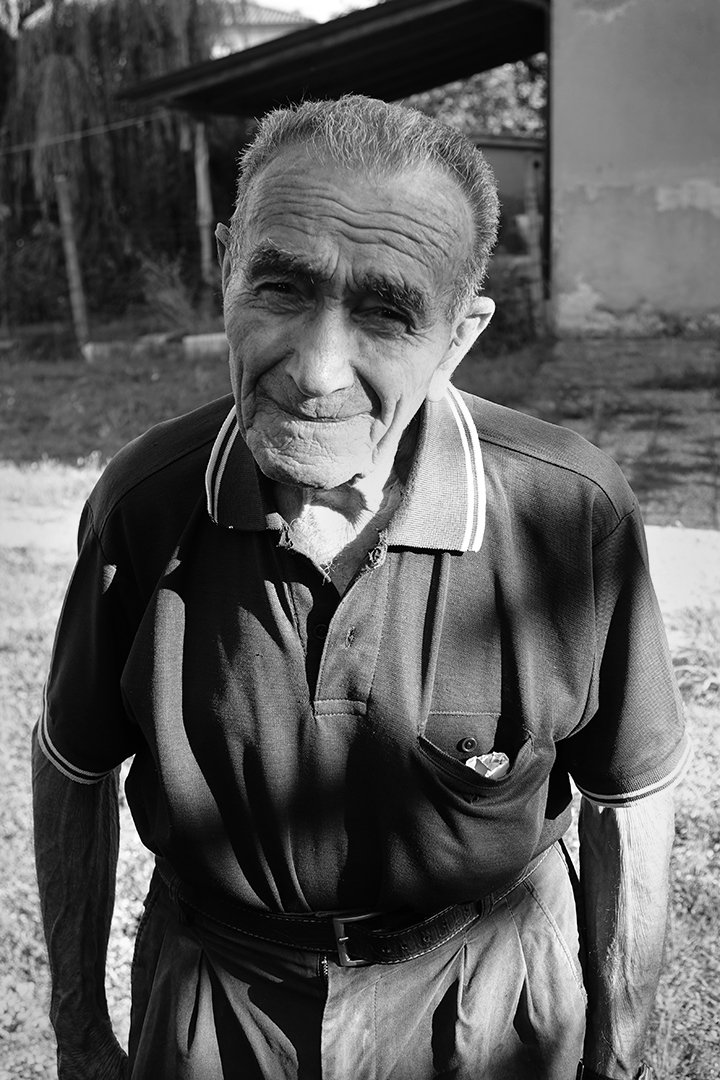
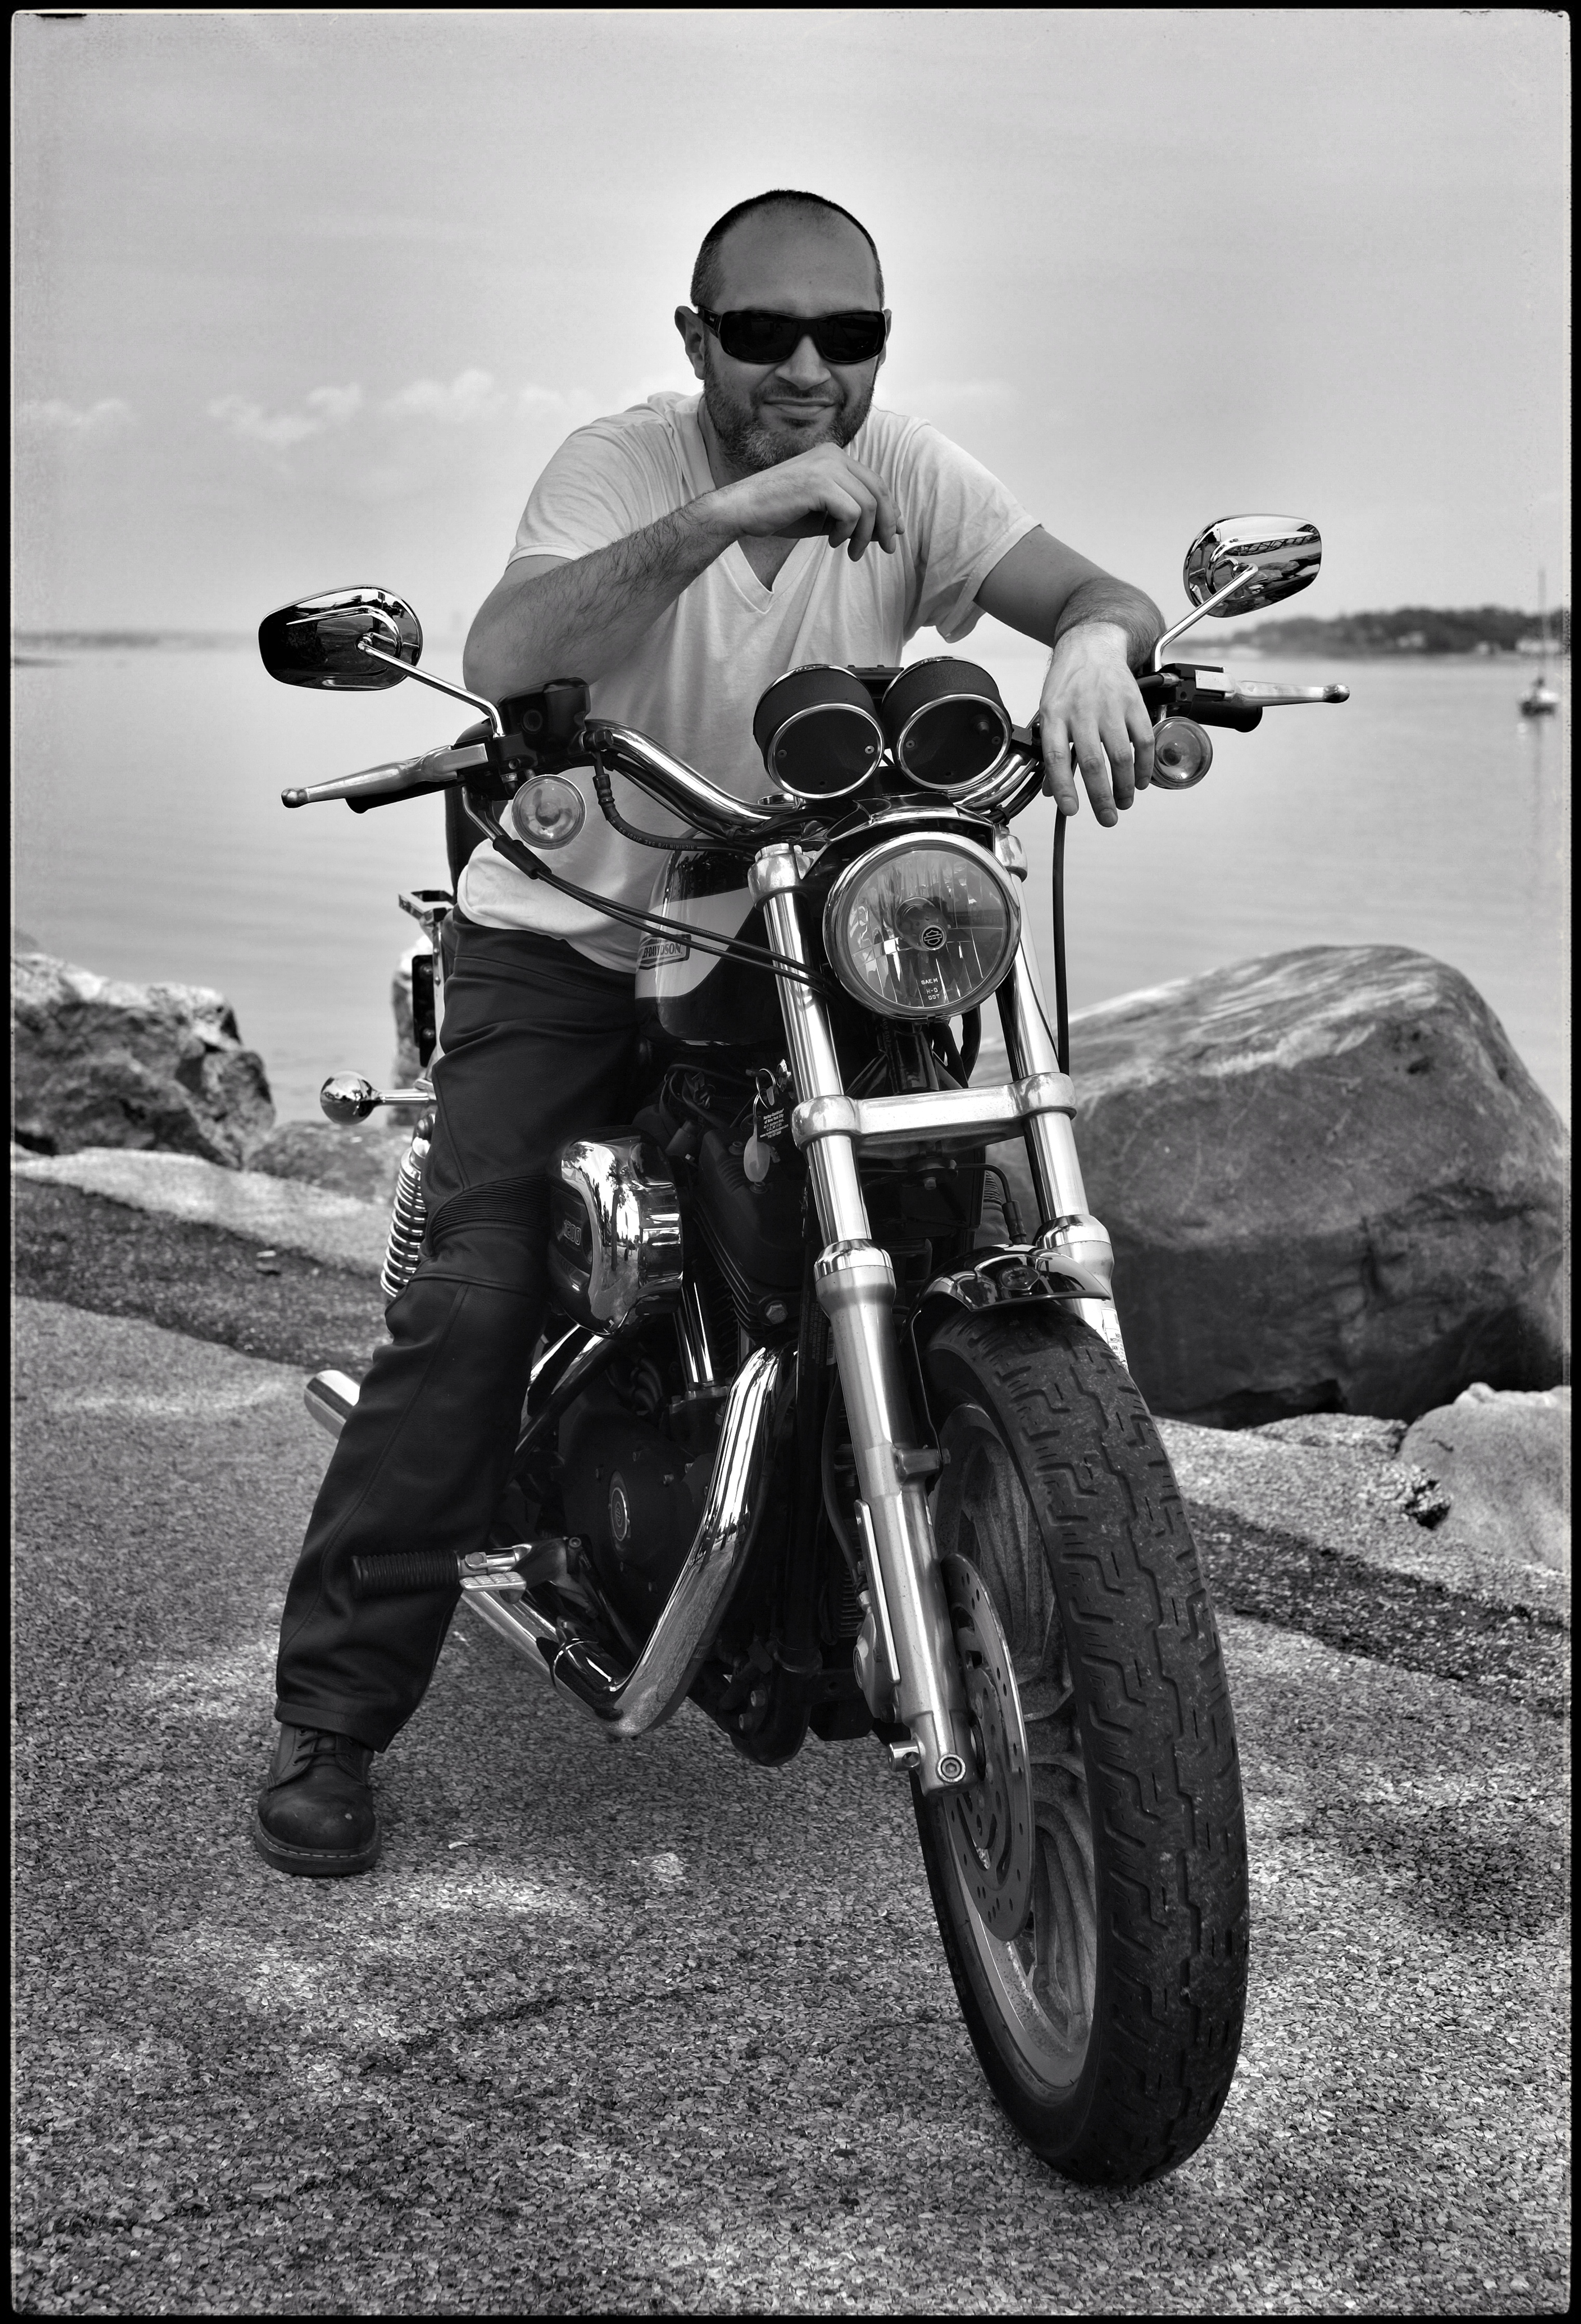
The obligatory old guys sitting behind a bike photo. I think this show hit a number of high notes and many mid-highs, it’s images like these that are the brick and mortar of a show.
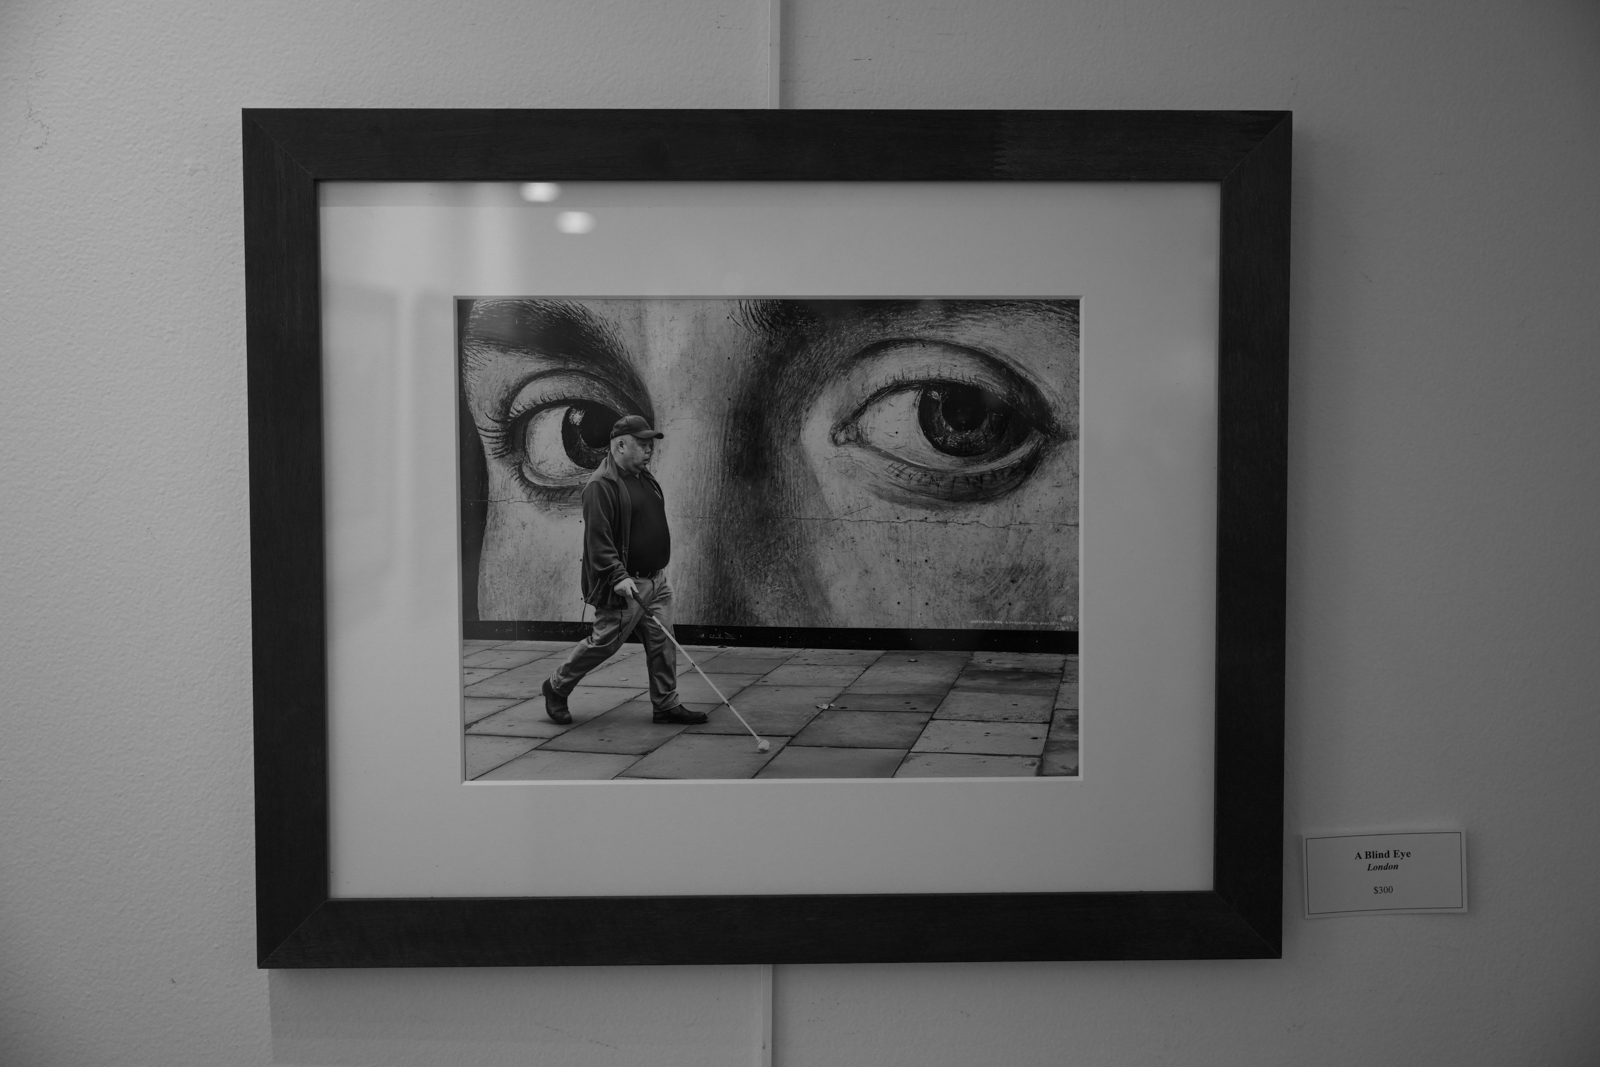
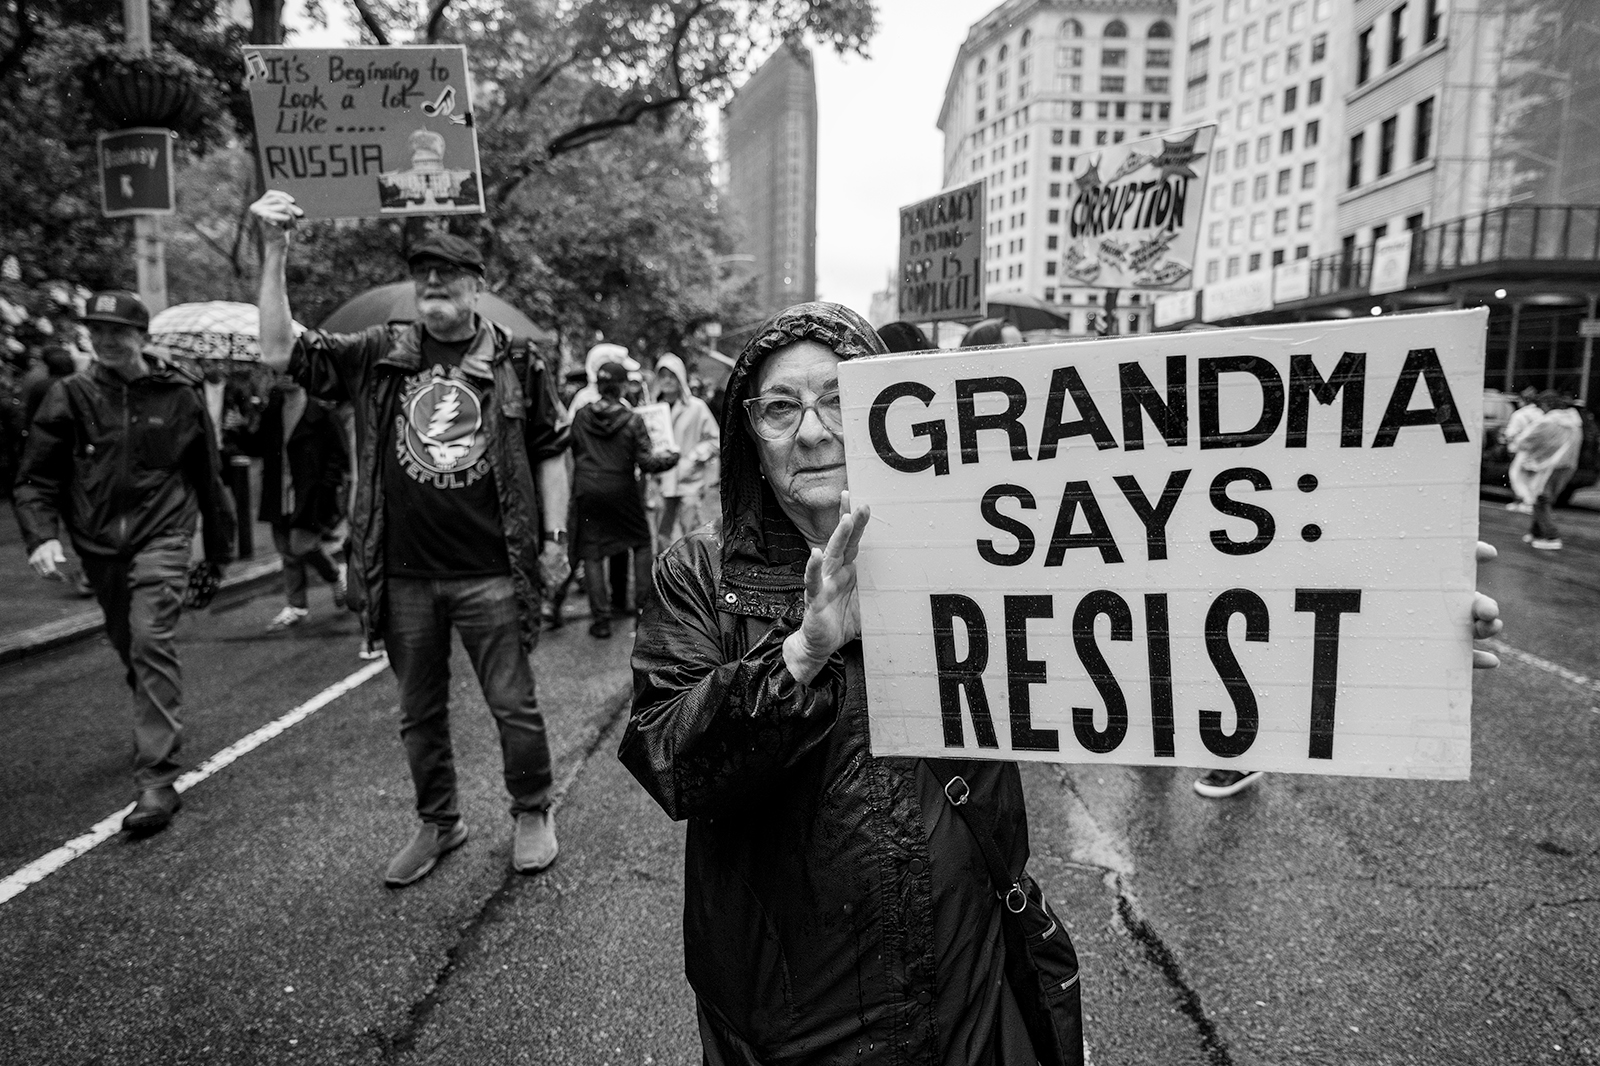
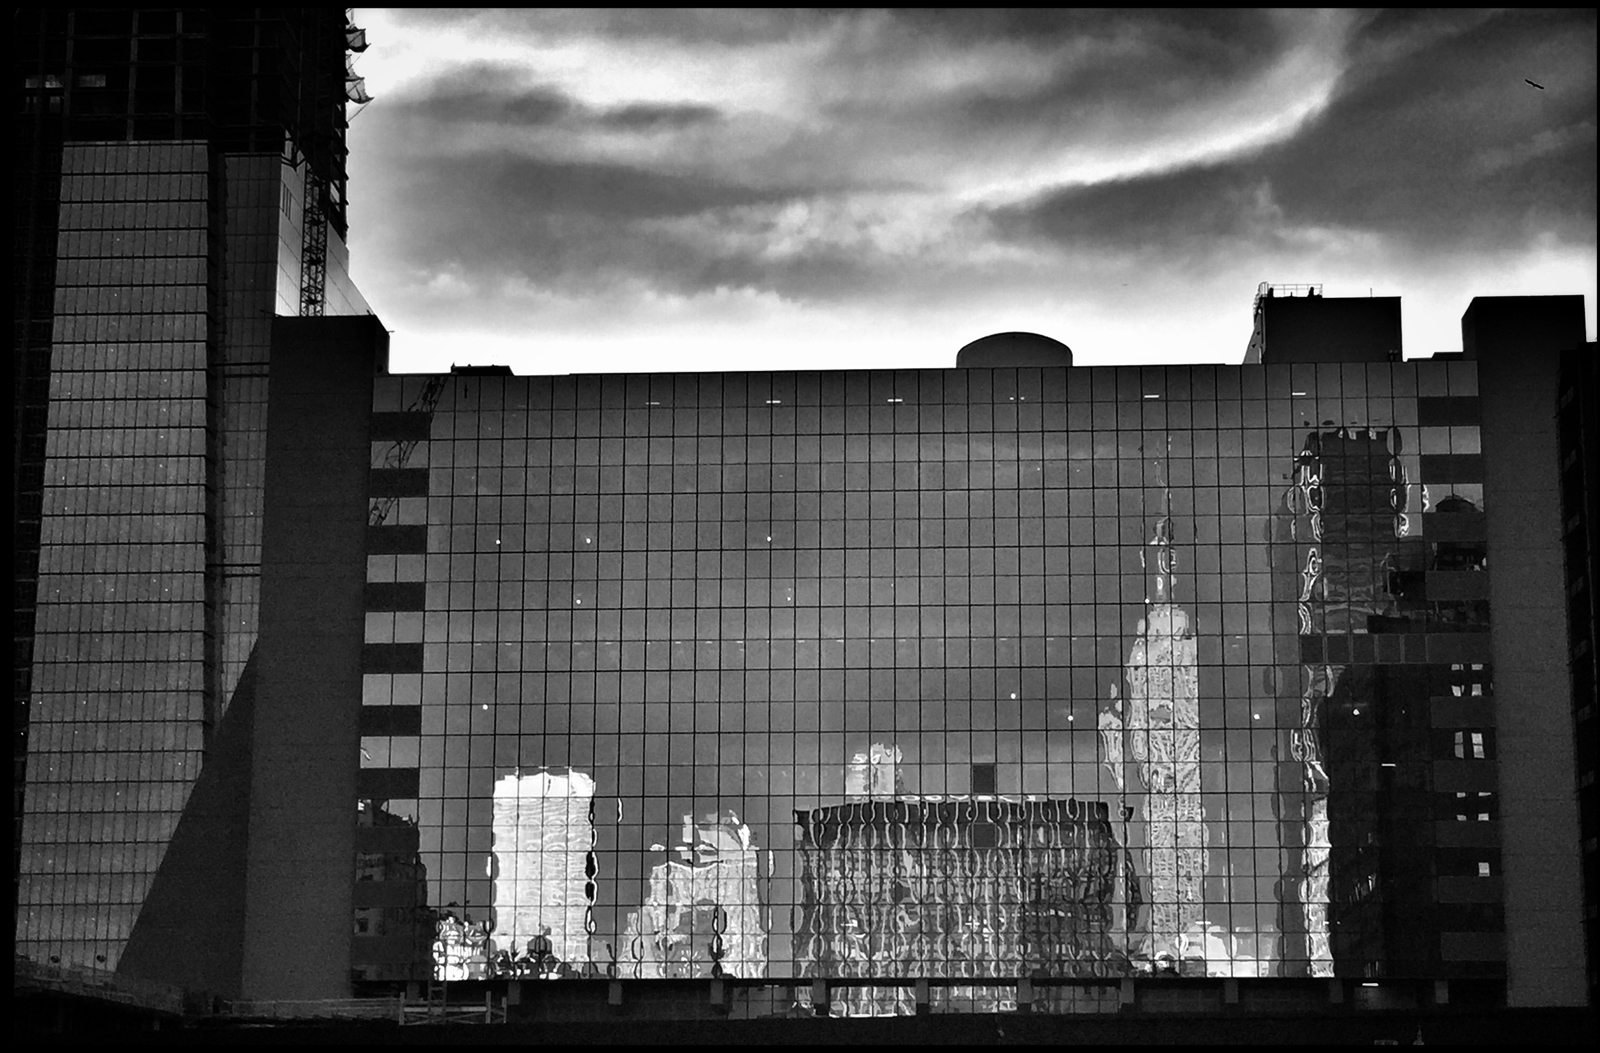
And then a Blind Eye is presented. A perfect street photo worthy of a Magnum photographer.
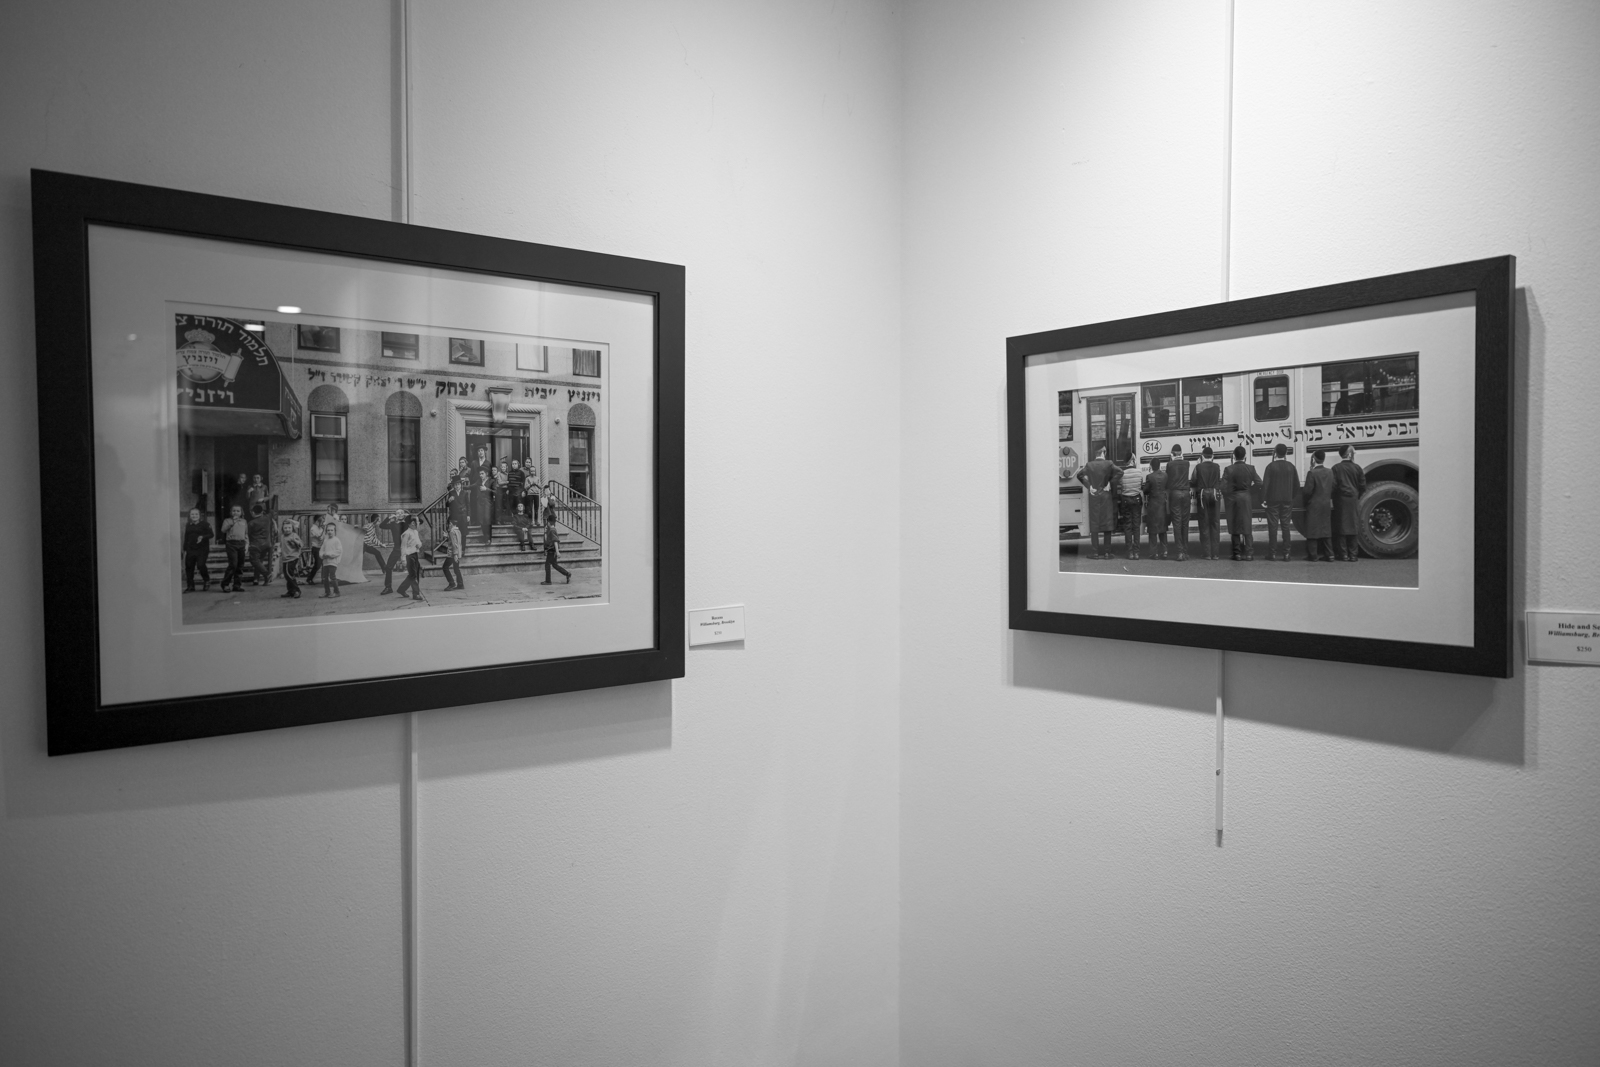
I lead workshops through Williamsburg Brooklyn into the Orthodox enclave. Vera inserted herself into this world with zero hesitation and made compelling work. It’s interesting how the subject reacts to the gender of the photographer. Vera being jewish meant she understood the basic layers of the orthodox, but was also surprised at the depth of religion that plays out in this neighborhood of tennements and storefronts.
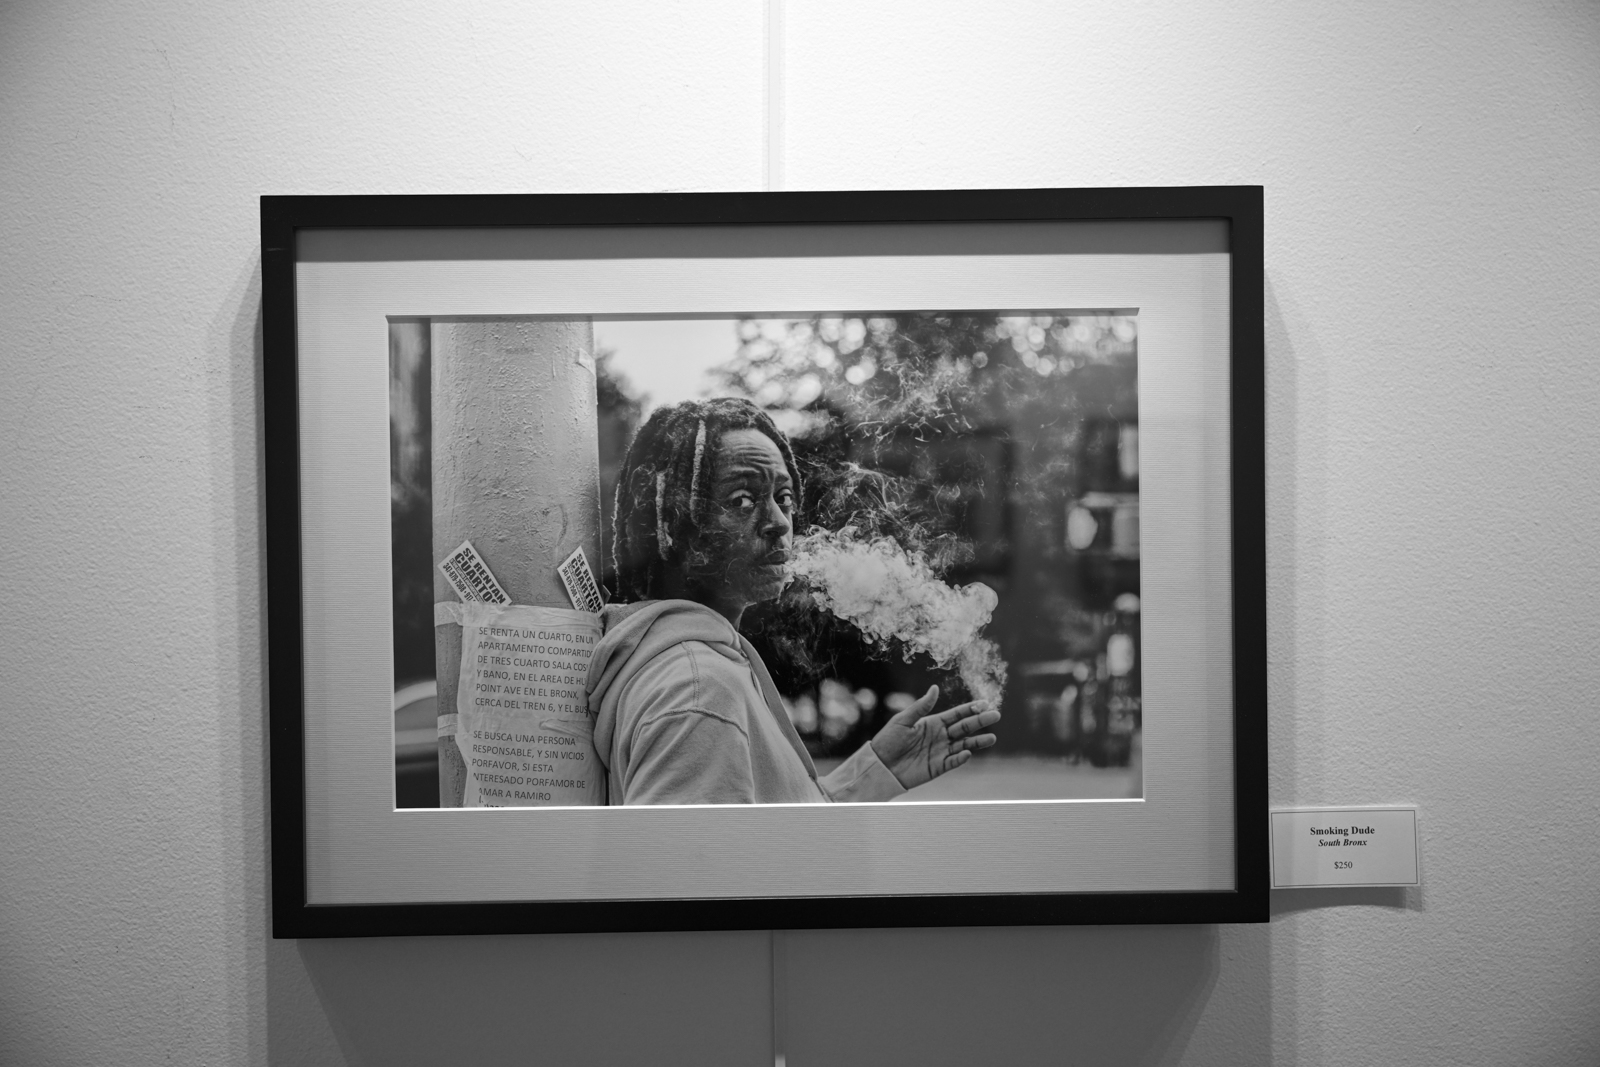
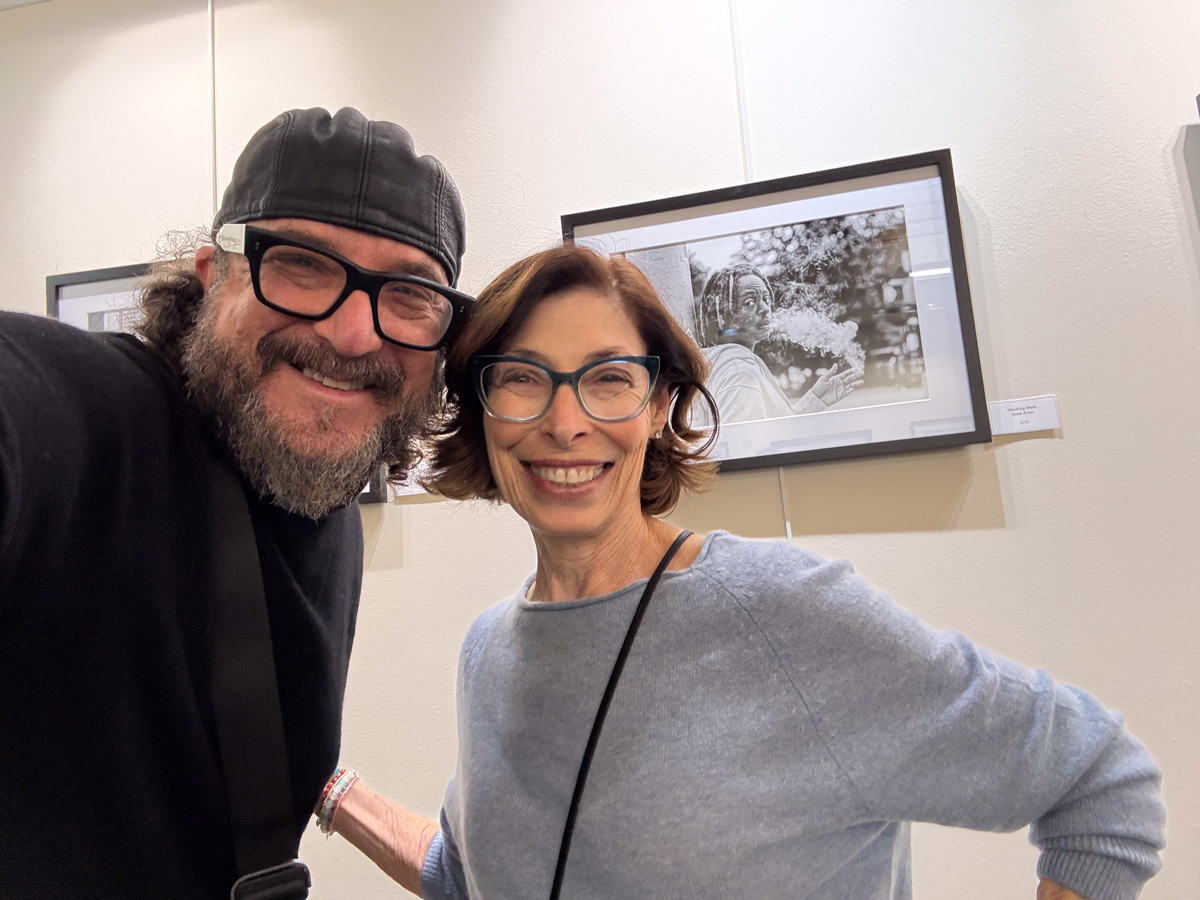
Then there is Smoking Dude. This photograph has a long story behind it, and you’ll have to take a street photography workshop from me to hear it or ask in person. To me, this photo is everything that happened leading up to it’s making, and down the block after it’s making.
I believe any exhibition can lead to a meaningful experience. The highest goal is to be featured at MoMa, but until then, start with local libraries, cafes, bars, and shops with nice walls. From there, aim for gallery representation or art shows. If you want to try this world, look for a group show; it lets you enjoy opening night with low costs for printing and framing. If you’re bold, go for a solo show!
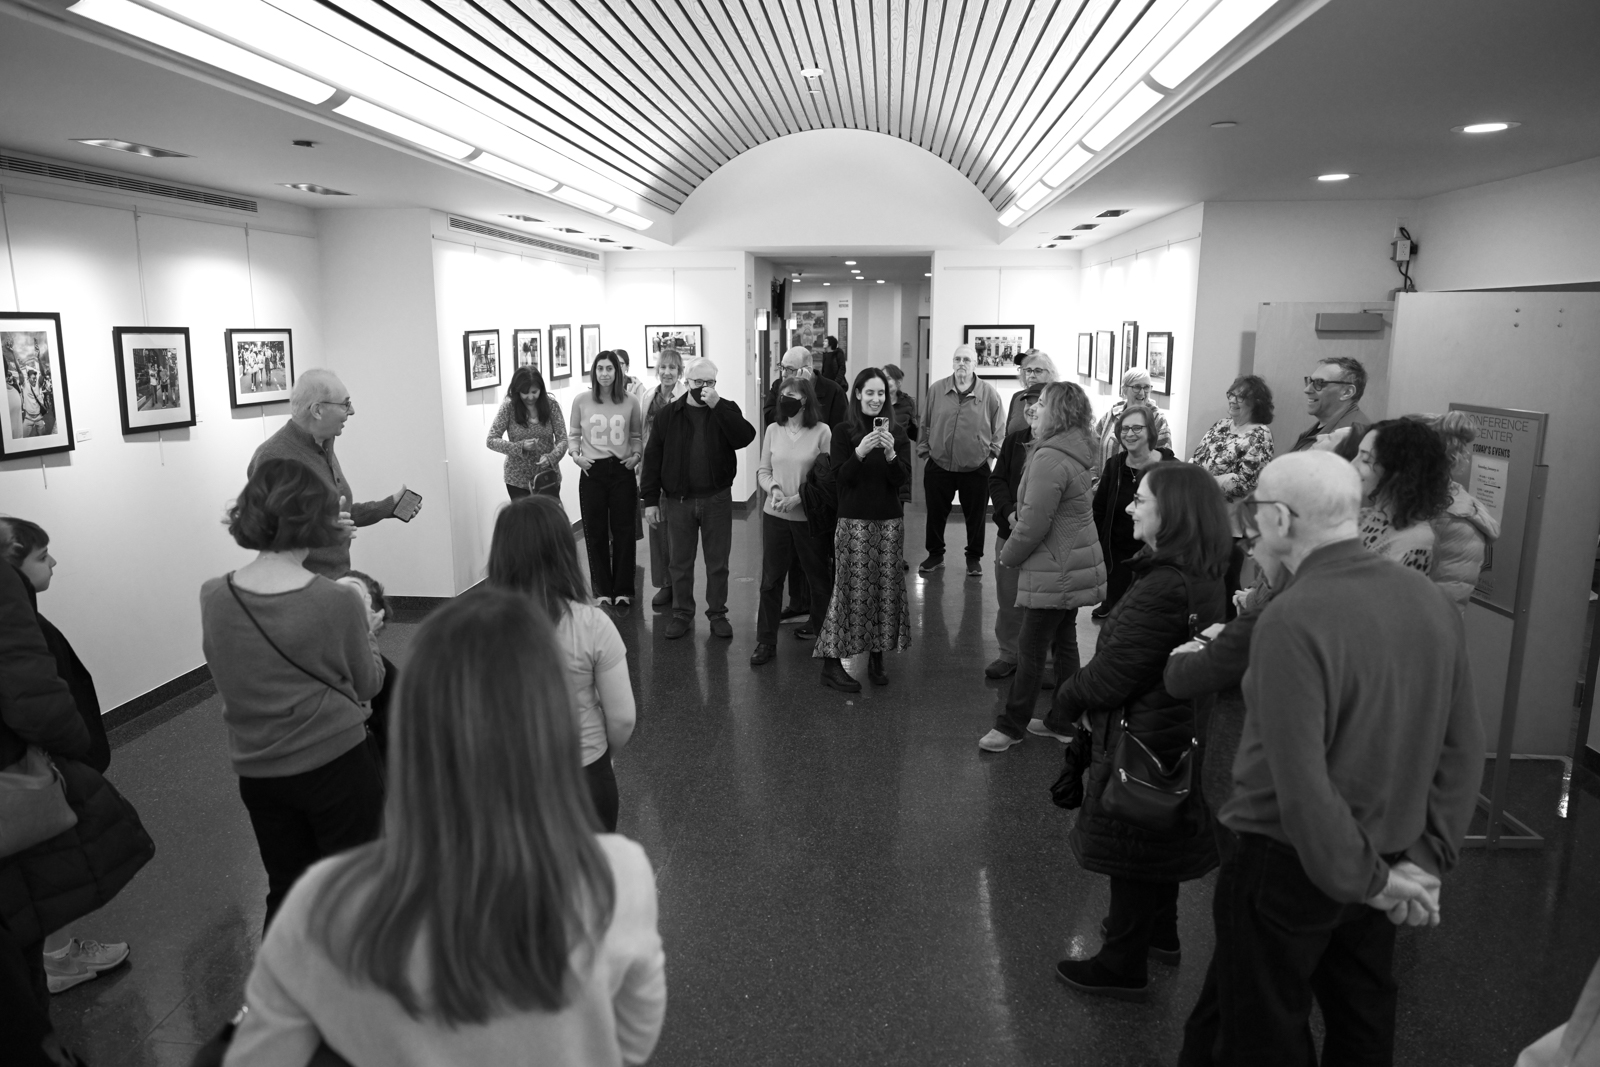
You can’t mention Vera with out mentioning Bernie. Bernie is Vera’s loving husband of many years. He may very well be the most reasonable man I know and is a keen photographer as well. Vera keeps him on his toes, and they have a relationship to admire. At the opening Bernie read a touching testimonial to Vera’s accomplishment.
To me, an exhibition of work is the highest form of artistic fulfilment. Websites, Social Media while all playing a part, nothing beats a printed, matted and framed photograph. Yes, I am a traditionalist. But I feel it’s simply the best way to enjoy an image. To complete an exhibition of quality is a major undertaking from a logistics and artistic standpoint. Vera activated her network, set the goal and reached it with aplomb.
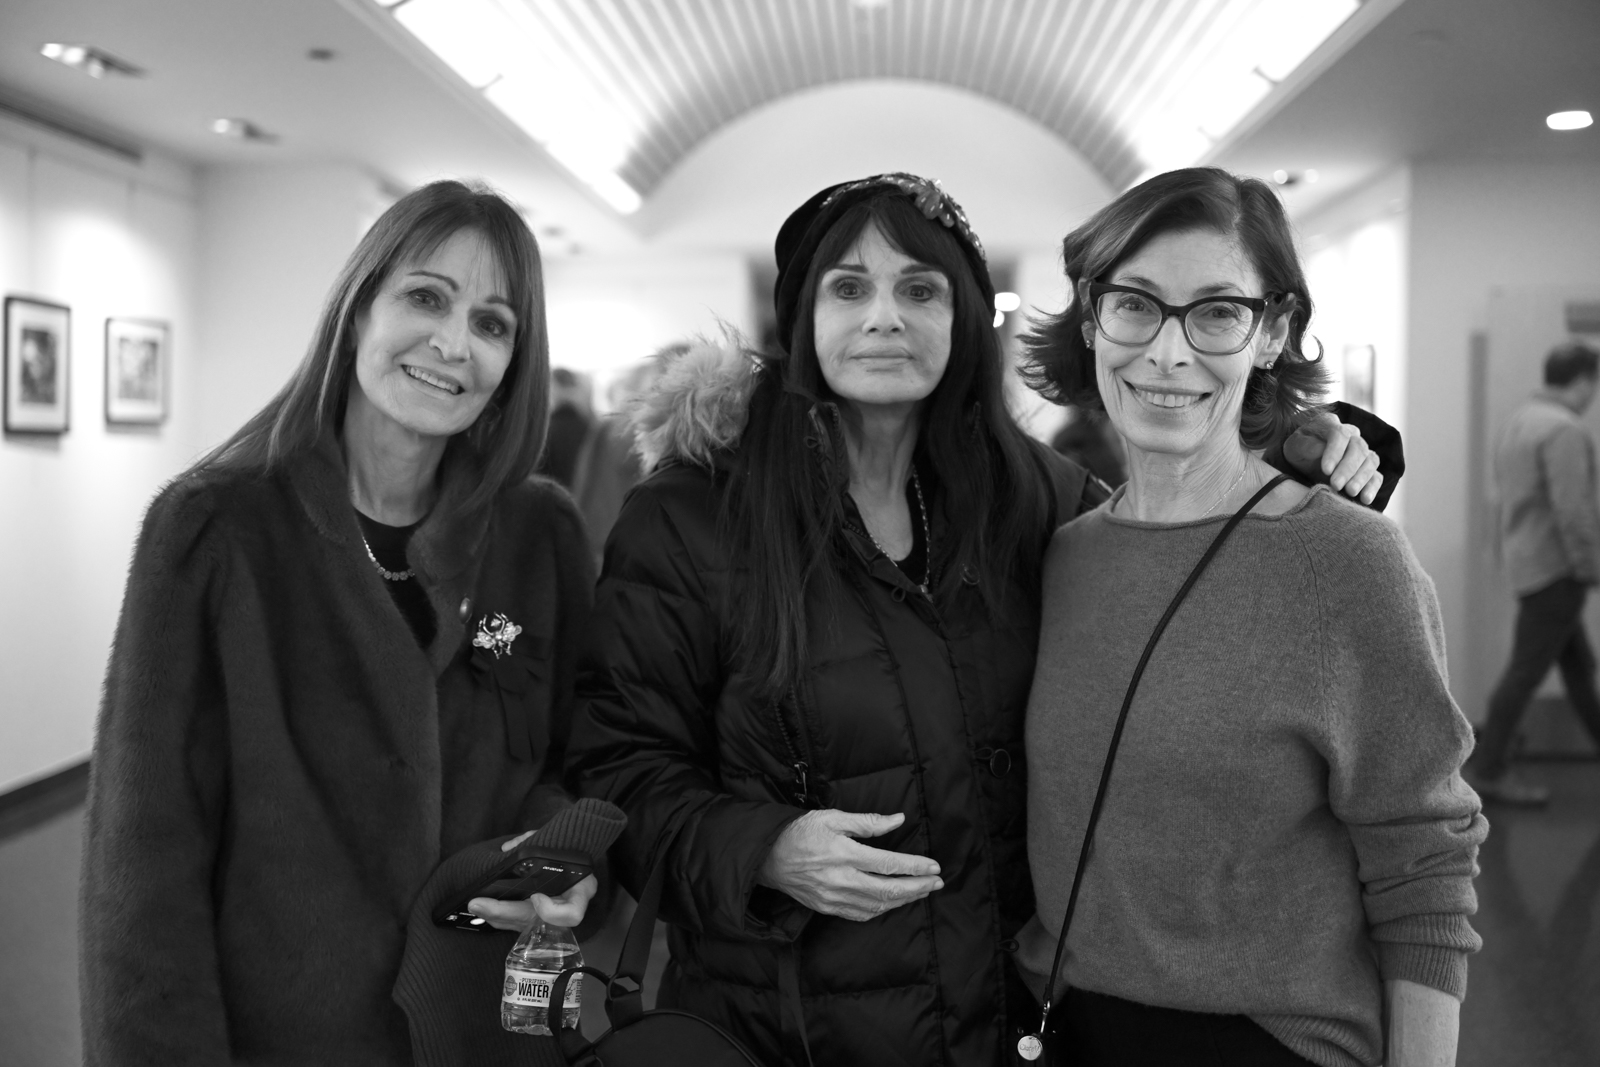
I’m not big on birthdays or other “automatic” celebrations. To me, if you want to celebrate, I’d be much more impressed if you celebrated what I did, and so a show is true celebration on accomplishment. To see Vera among her freinds, family and strangers showcasing her work was very warm and well deserved.
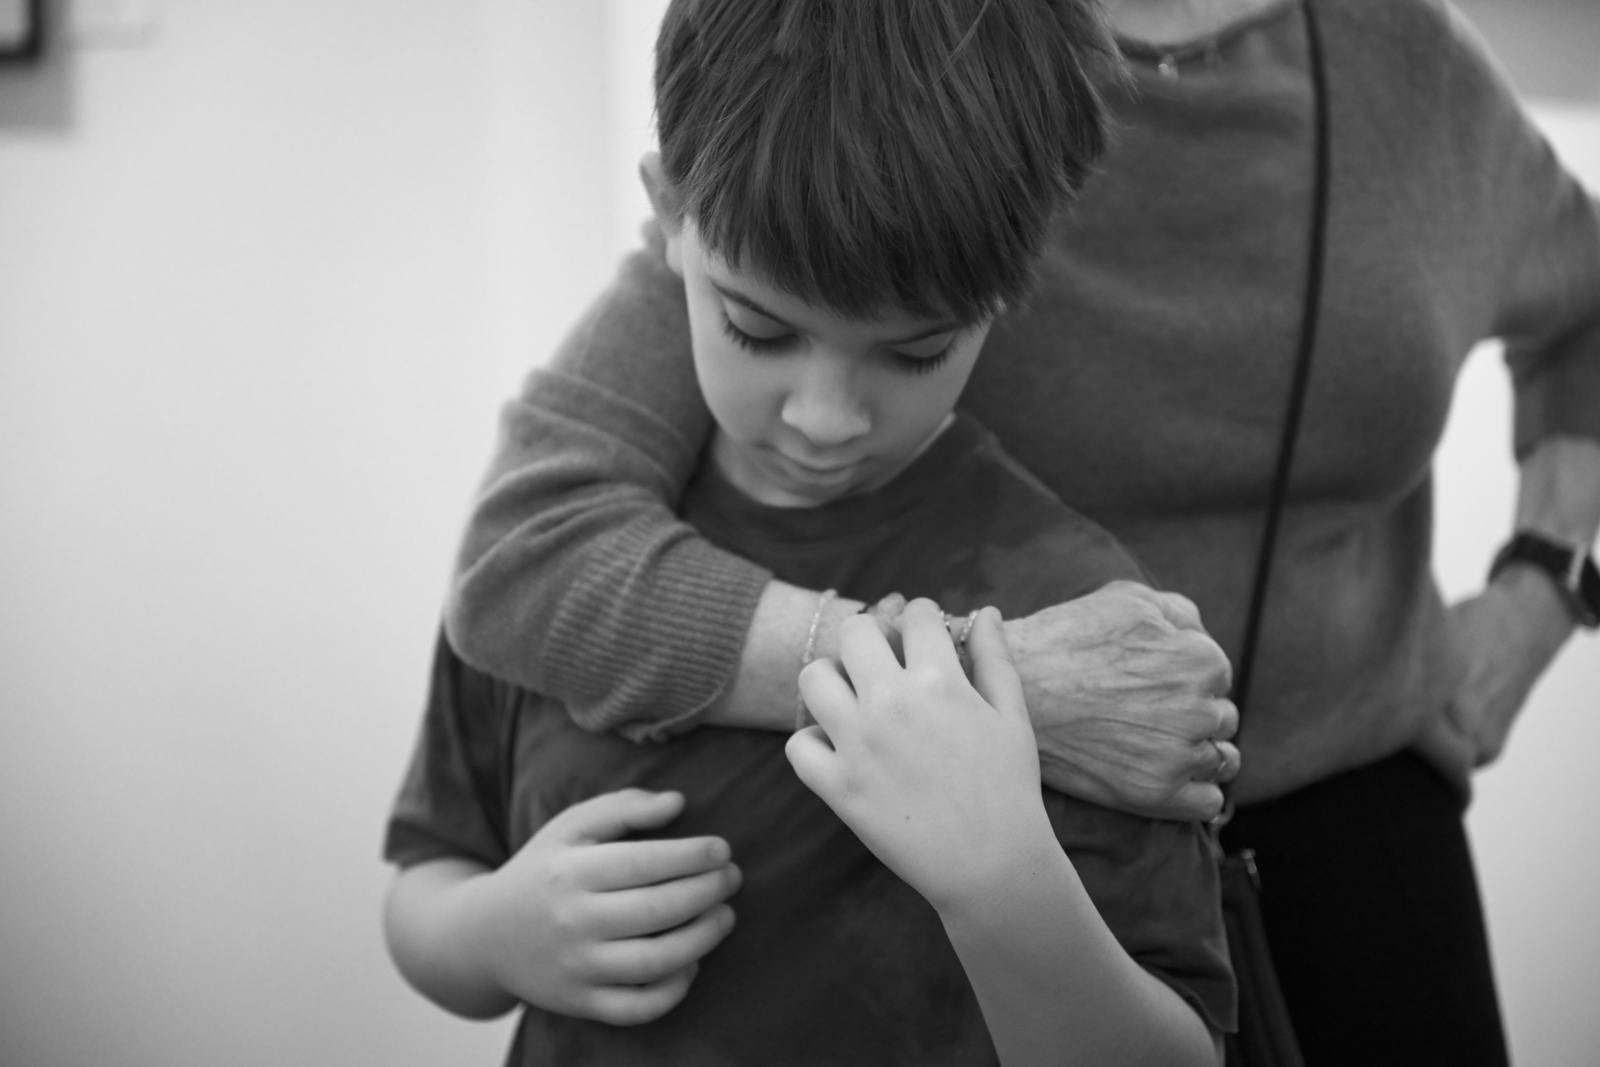
My Granny was cool in a horse racing sort of way, but she didn’t make the work that Vera makes. Her children and grand children were in attendance and I wonder how the show will impact them. Certainly Vera has shown them that she is not your average Ma- but a talented, strong, smart and defining exemplar of street photography. Earlier I made a comparison of Vivian Maier to Vera Hershenberg and I’d say that had Vera spent her life in a near hermetic state she would have produced a body of work very similar to Vivian. Except no selfies, Vera is all about the world around her, not about her in that world.
Follow Fearless Vera on IG
If the goal of a photo show is something that attracts you, stay tuned for more inspirational photography from Suspect Photography Education or book a private one hour review to discuss your work.
-David